


After several months of organising this detail along with visiting the jet to inspect and compile a list of problem areas and severity of the damage, a date had been set for a few days. The main areas of concern were the leading edges and bright work long with the underside and first third of the wing.
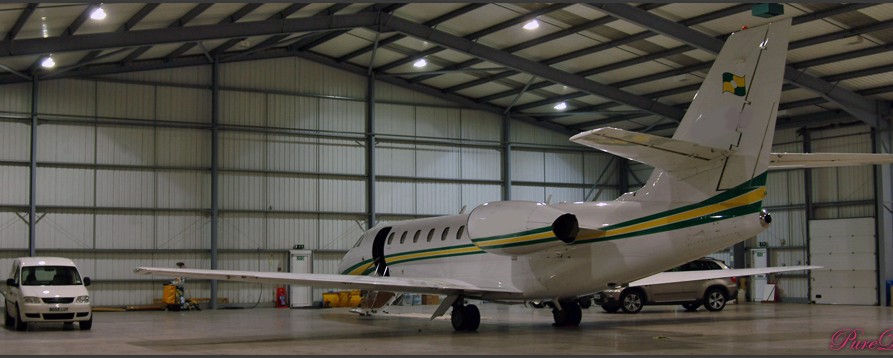
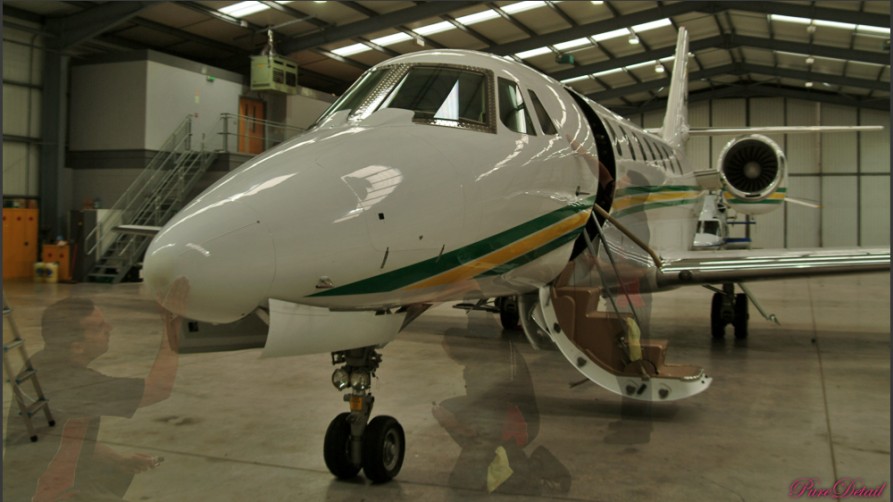
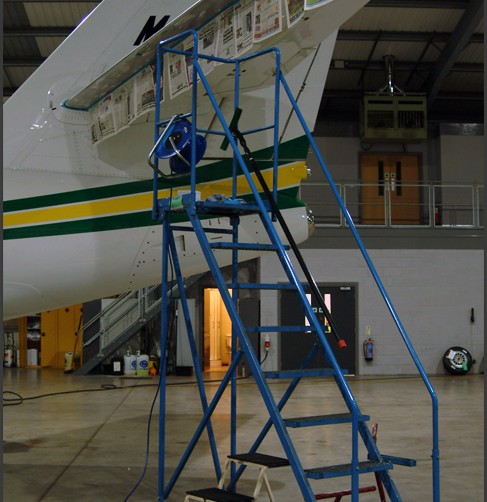
As I arrived…


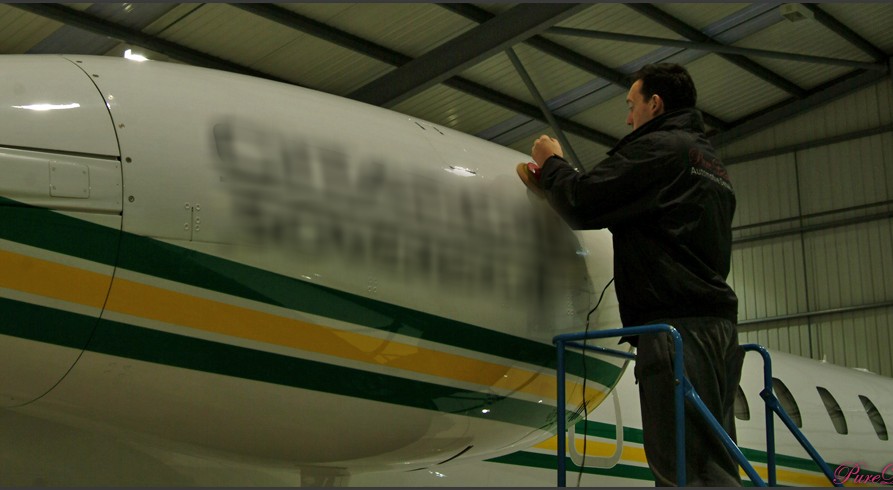
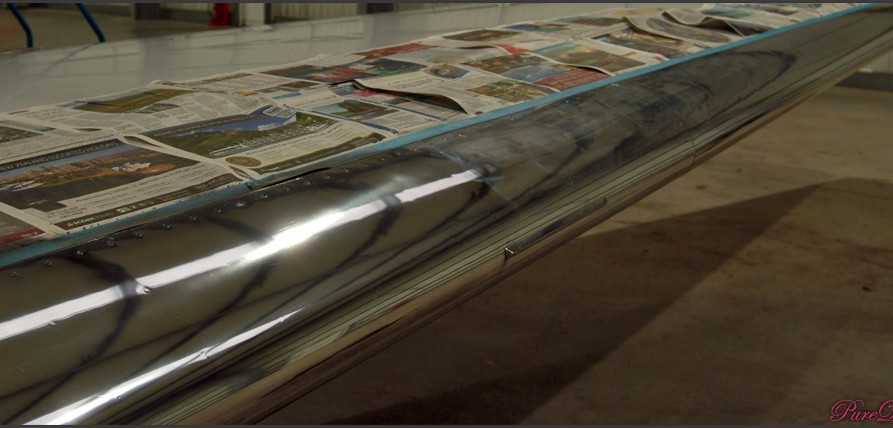
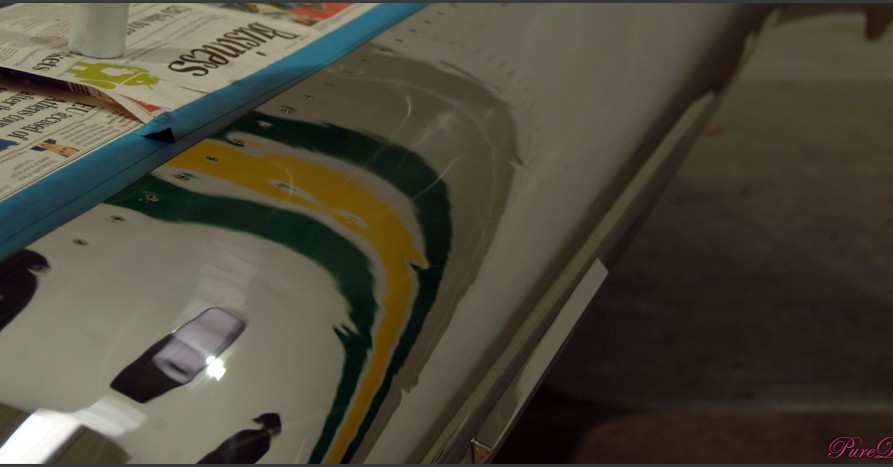
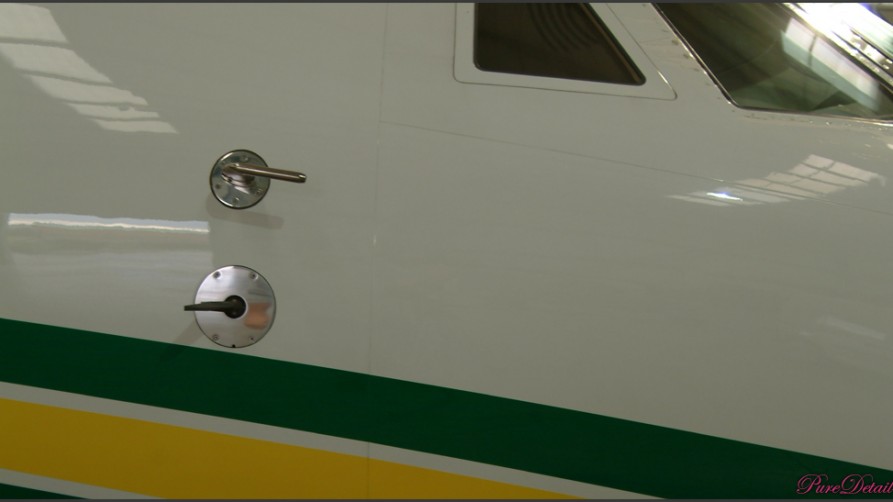
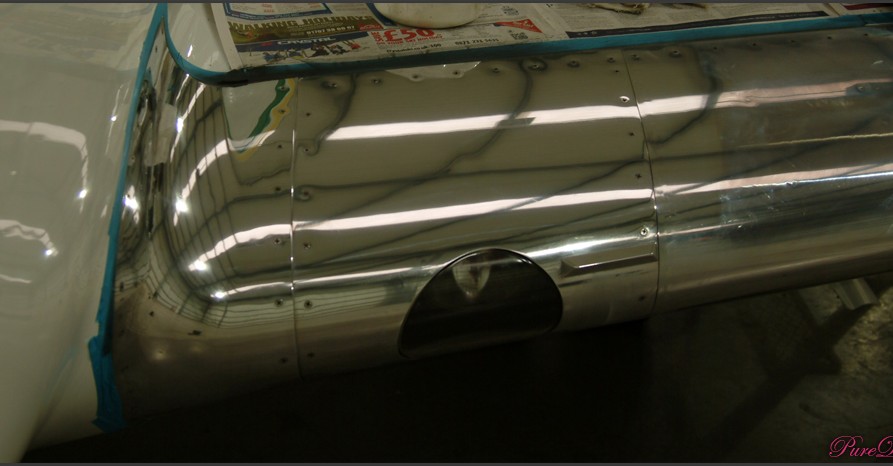
As you can see, the paint is dull and lifeless and to the touch it feels like a very high grade sand paper with all the microscopic contaminates. The bright work was very swirled and marred with a milky appearance. In the past the bright work had only been treated to the aviation grade metal polish, but with a very hard wool pad on a rotary machine.


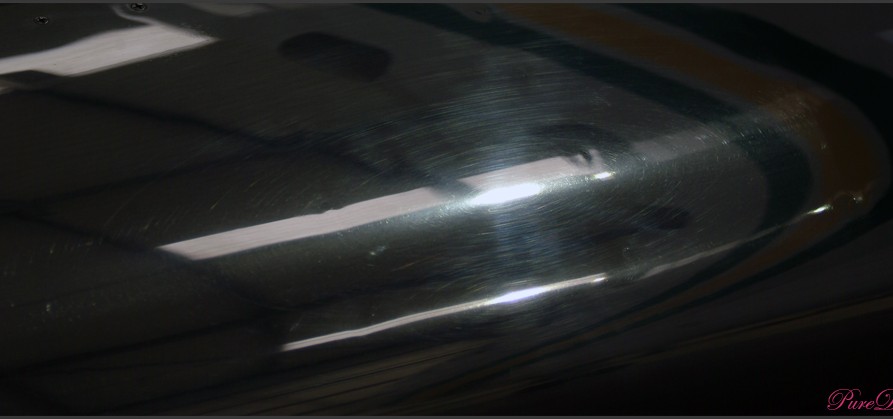
Unfortunately I had to use the aviation approved metal polish which was only available in one grade which however it was worked left slight holograms.
Test section…

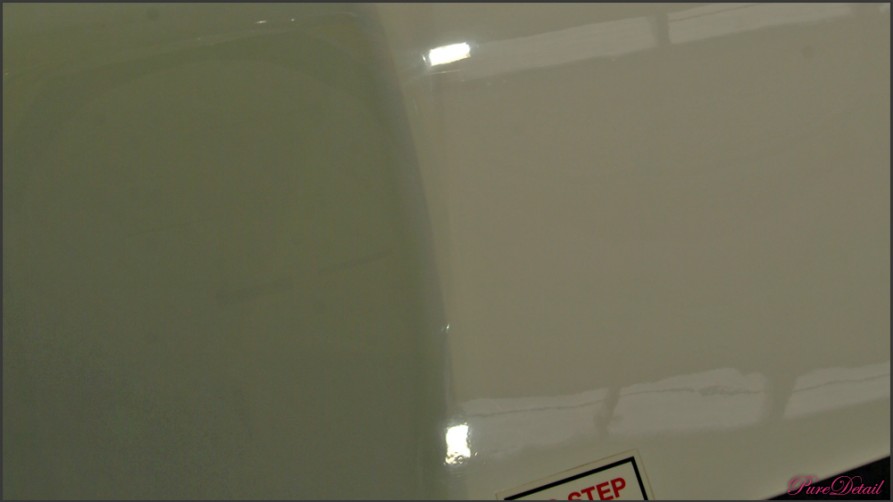
50/50

Holograms after single stage machine work

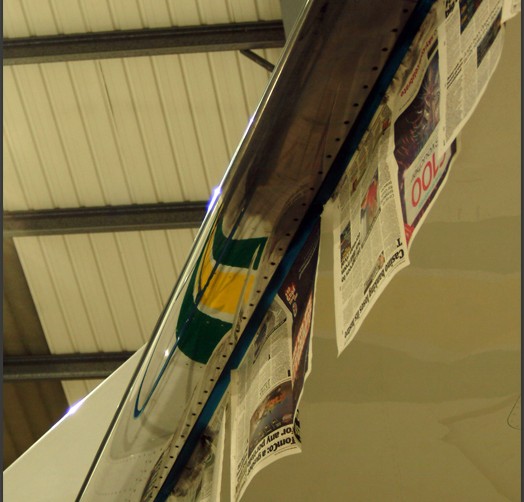
The underside of the tail wing bright work was very tarnished, very brown in appearance. here is a 50/50 after the single stage machine polish…
Tools for the job…


We have now obtained a fine metal polish which is aviation approved, so we will be visiting to finishing polish the bright work. Pictures to follow.
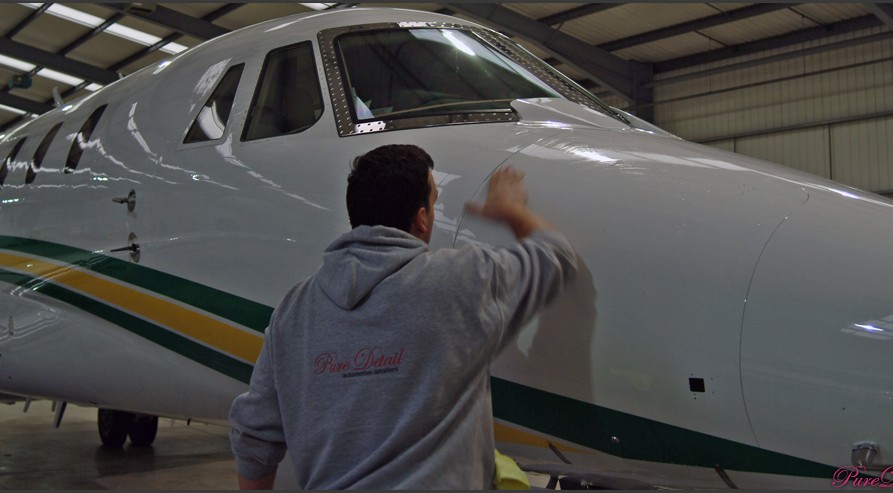
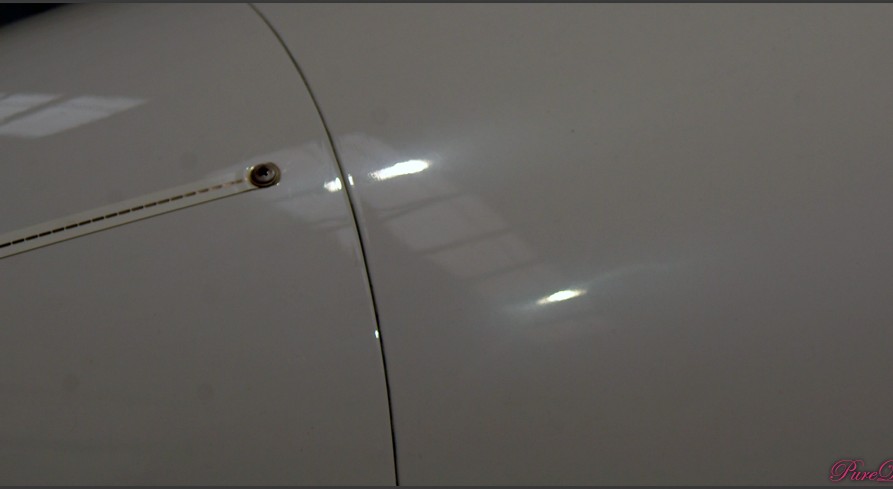
With the bright work complete, it was time to give the paint a wash. This had to be in the form of a ‘dry wash’ as the normal route of pre soak and foam etc couldn’t be carried out. So using 30+ cloths and Optical No Rinse (ONR) the body was wiped over. Surprisingly it was very clean with hardly any loose contaminates. The pilot told me they have only ever washed the plane a hand full of times as when it flies through a cloud at 500+ mph it cleans itself!
Claying however was a different story. The bonded contaminates were very hard to remove. The surface felt like 3000grit sand paper and as you can image most were smashed into the paint at very high speed. So moving between fine and medium clay we worked our way down and round the body, making the clay lubricant brown!


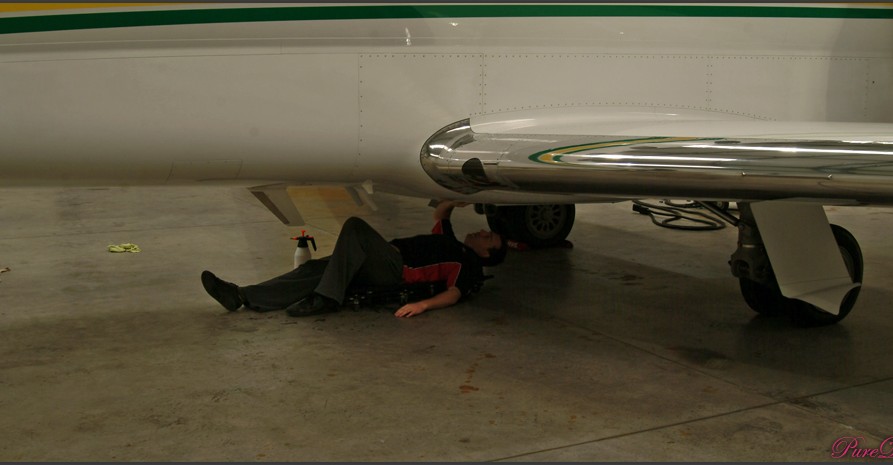
Mechanics slider was a back saver…

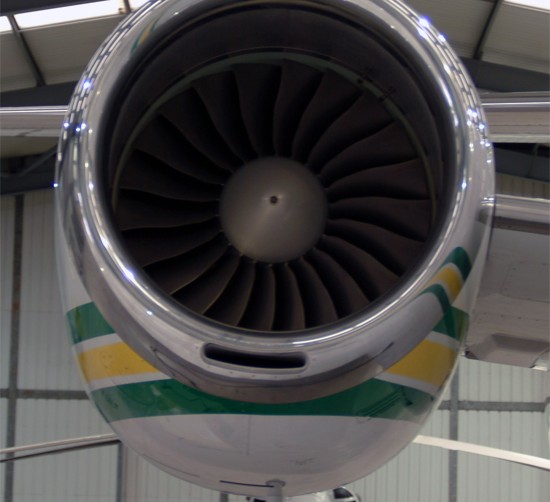
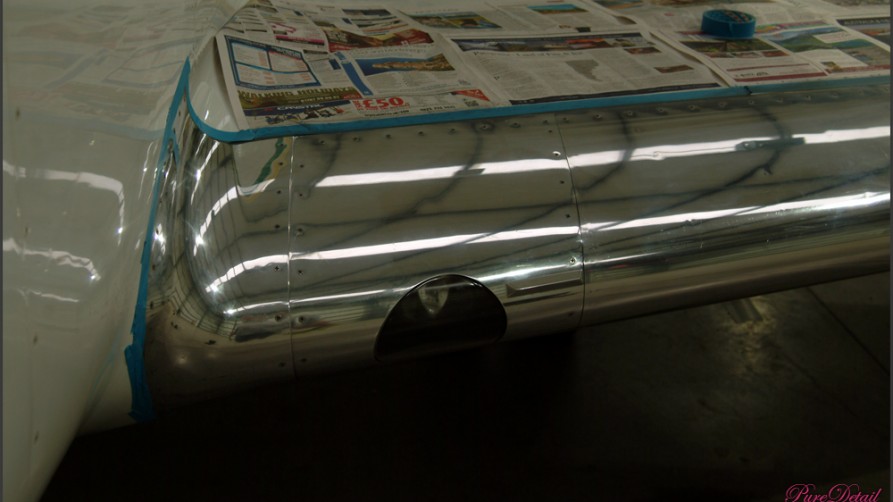
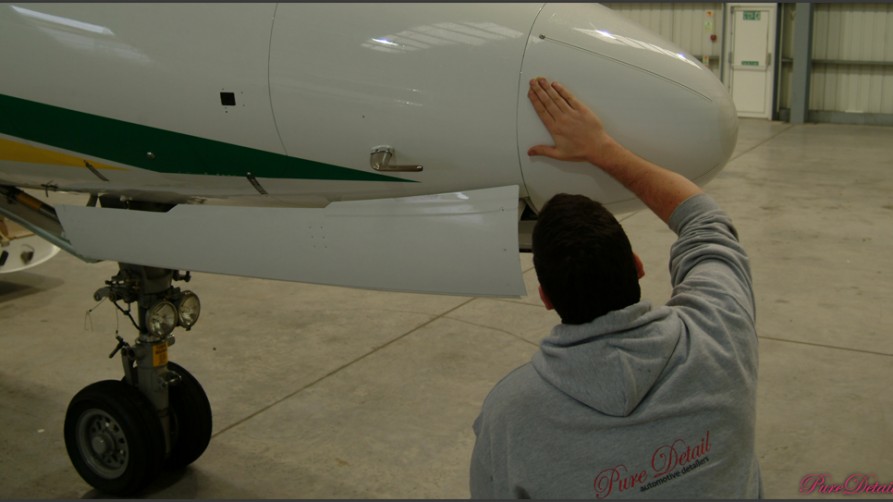
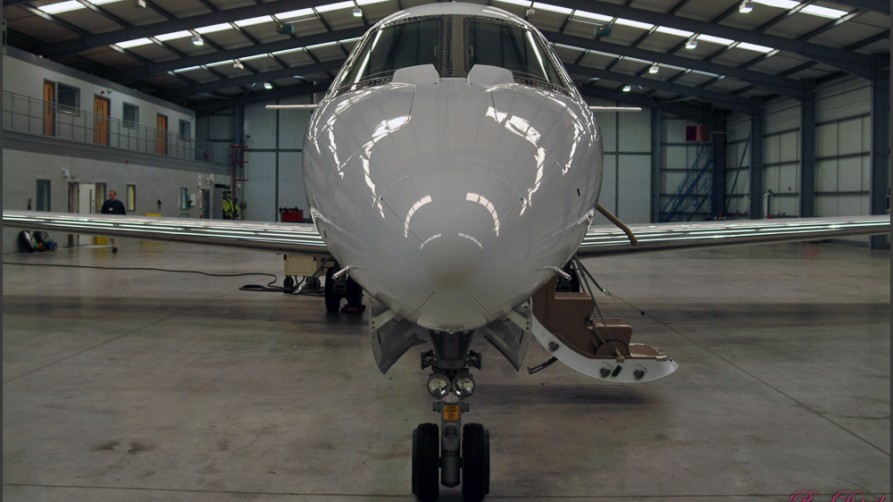
After the claying was complete, a single stage machine polish was carried out to the under carriage and nose. The areas which were most exposed when flying. After this was complete the pilot approached me to machine the engine cowling, as this would cure a nagging OCD of his…

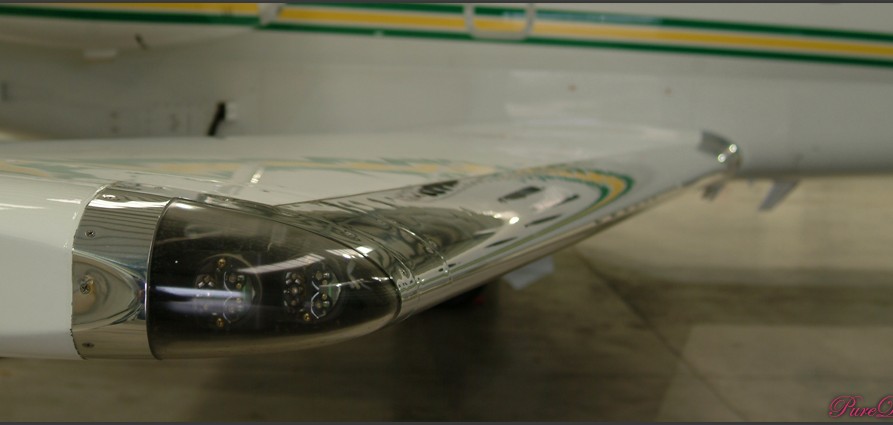
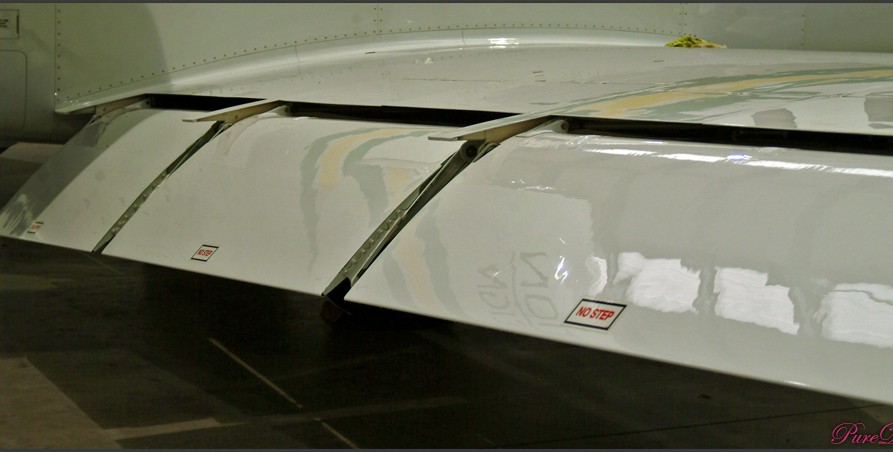
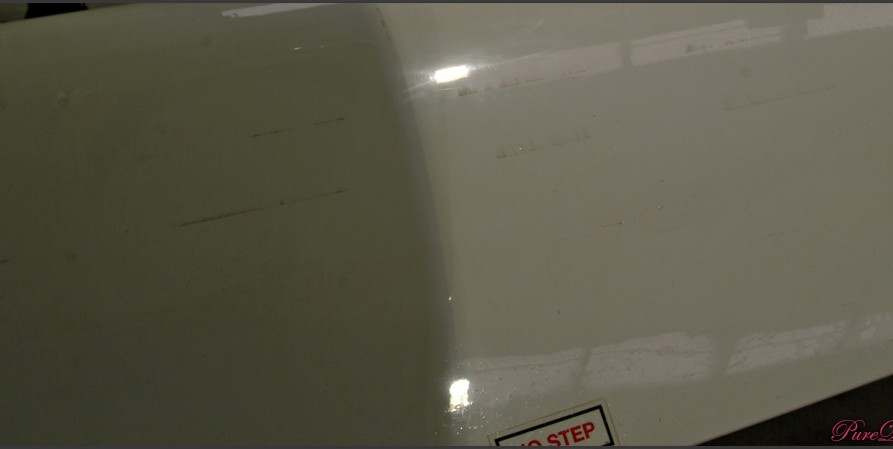
One of the main parts about this detail, was to correct rubbing defects in the paint on the wing flaps when they are extended out. These were about average depth and required a polishing pad with S17.

Defects after single stage correction,

Flaps after correction,

Once the machining stage was complete the underside and nose were coated with G-Techniq C1.

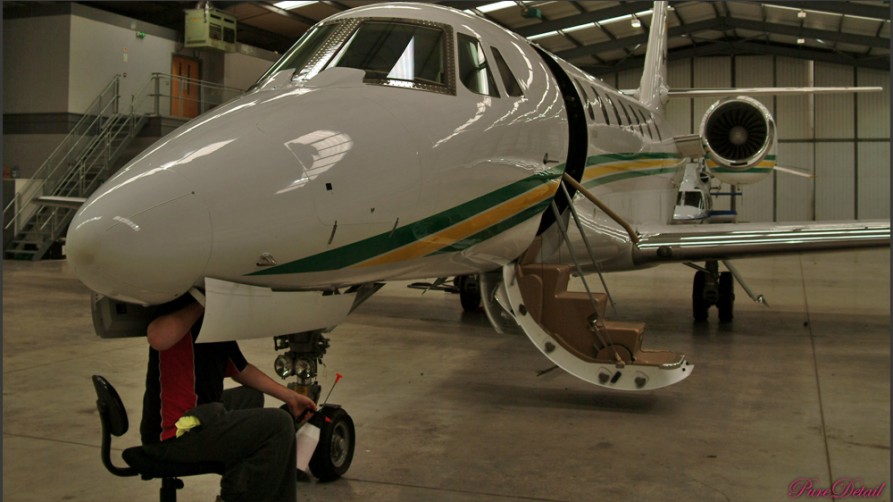
Completed.


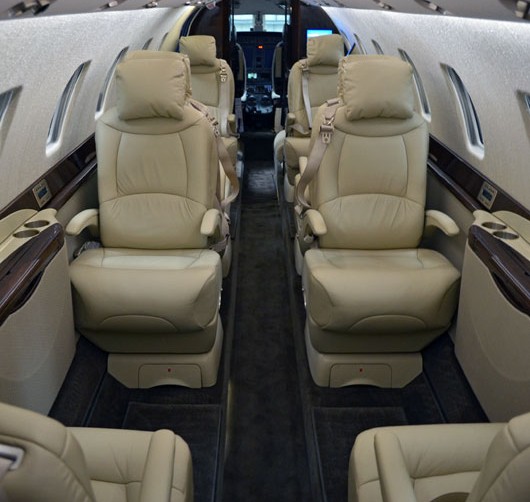
Interior Detail.
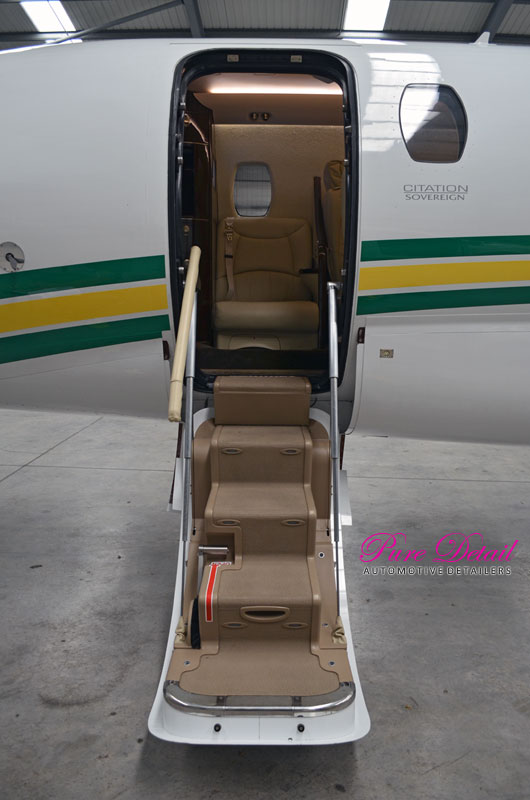
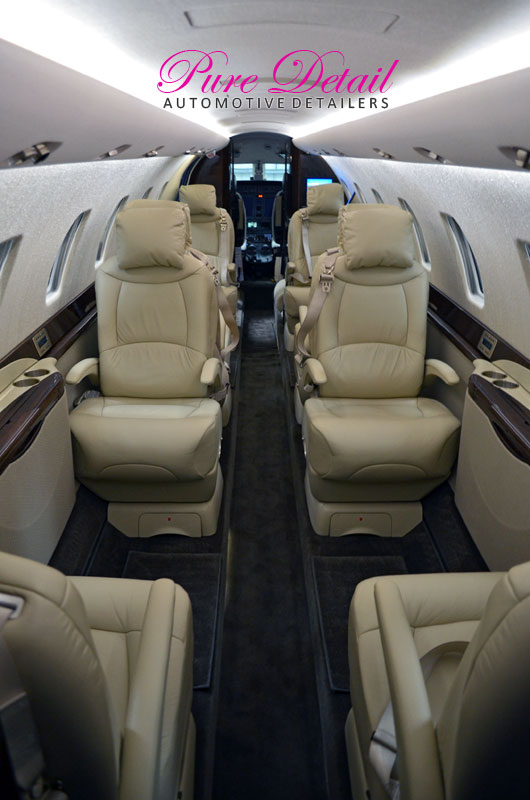
Having completed the exterior, we were booked to perform an interior detail concentrating on the leather and carpets whilst paying attention to the bright work and pilot seats.
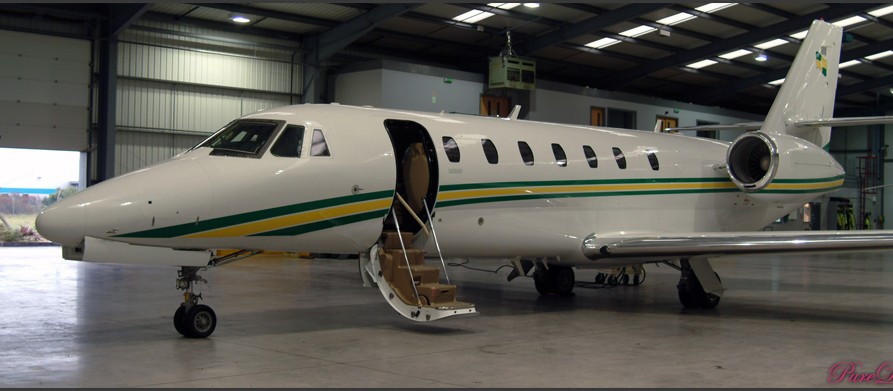
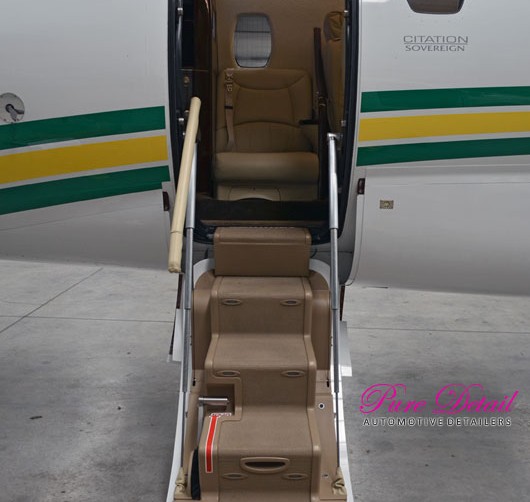
As we arrived…
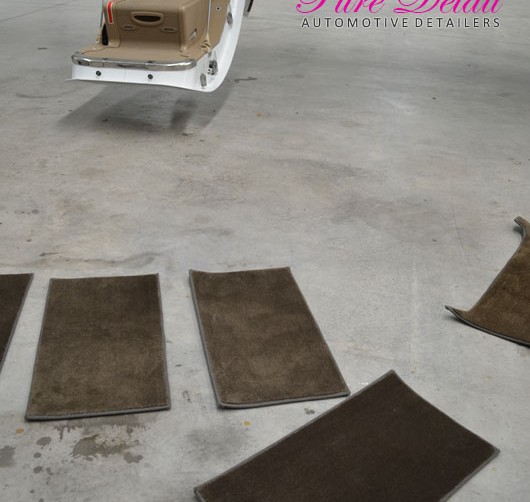
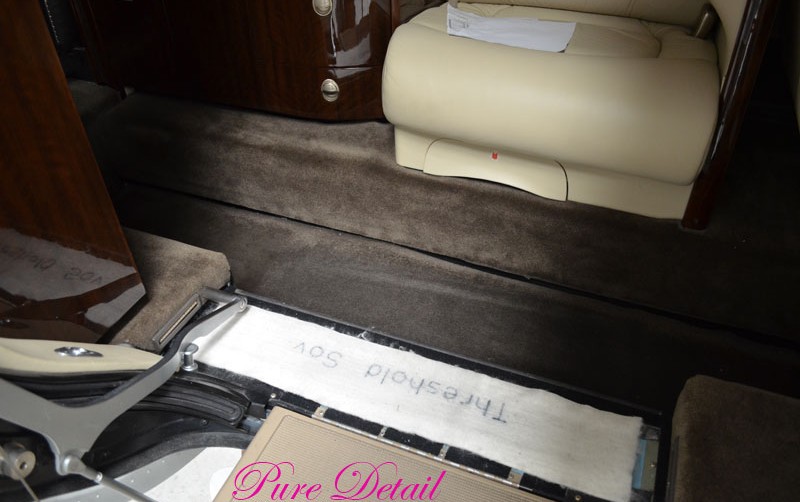
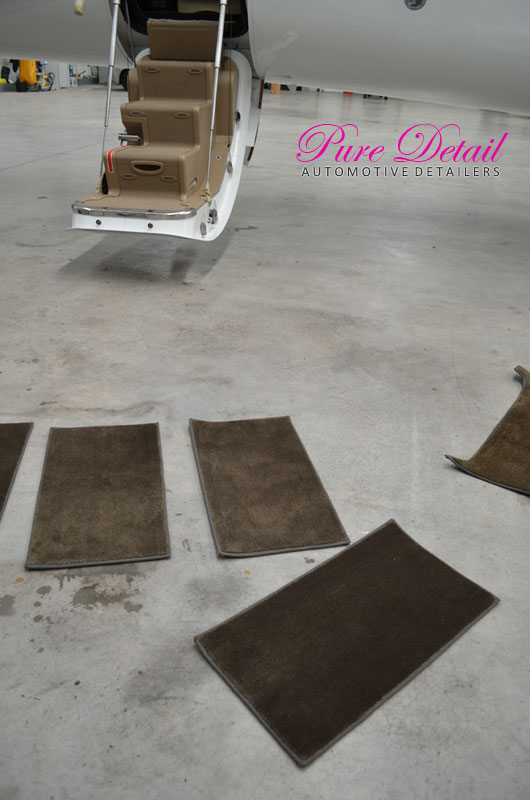
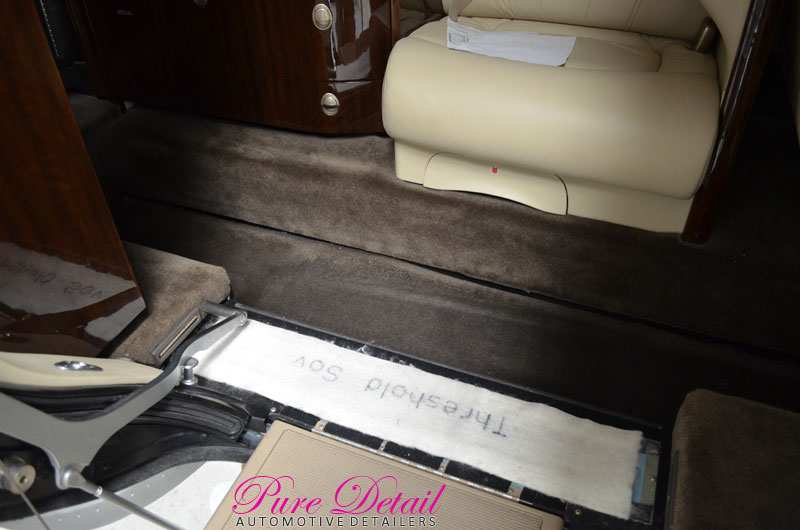
First we removed all the carpet mats, deep cleansed them with various tools and compressed air tools. With them removed the areas covered by them were cleaned also.
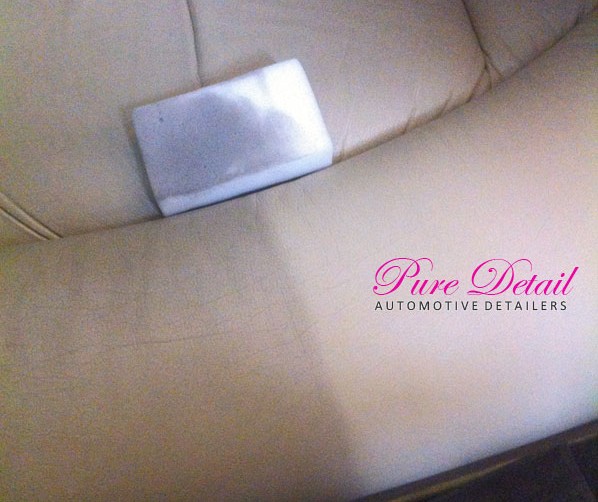
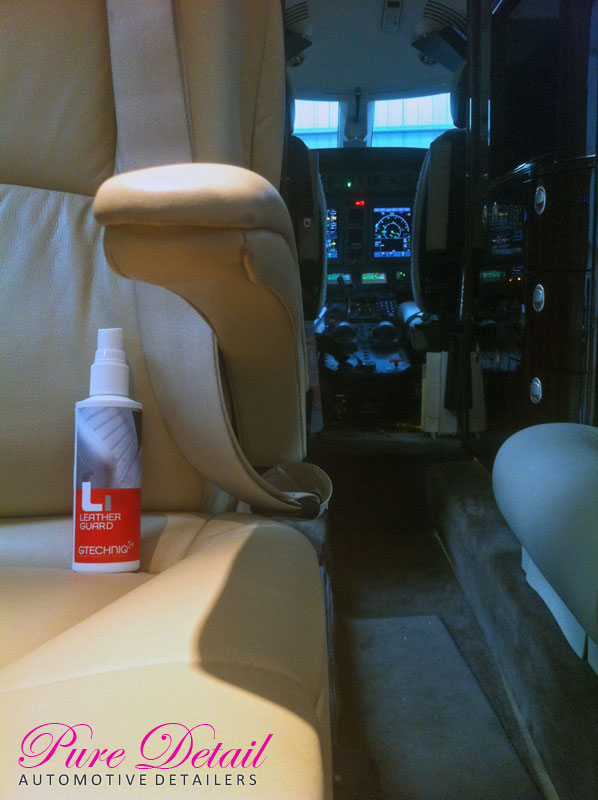
Once complete, we moved onto the leather. To the eye they looked in ok condition with the odd blemished. Until we started to cleanse the leather…
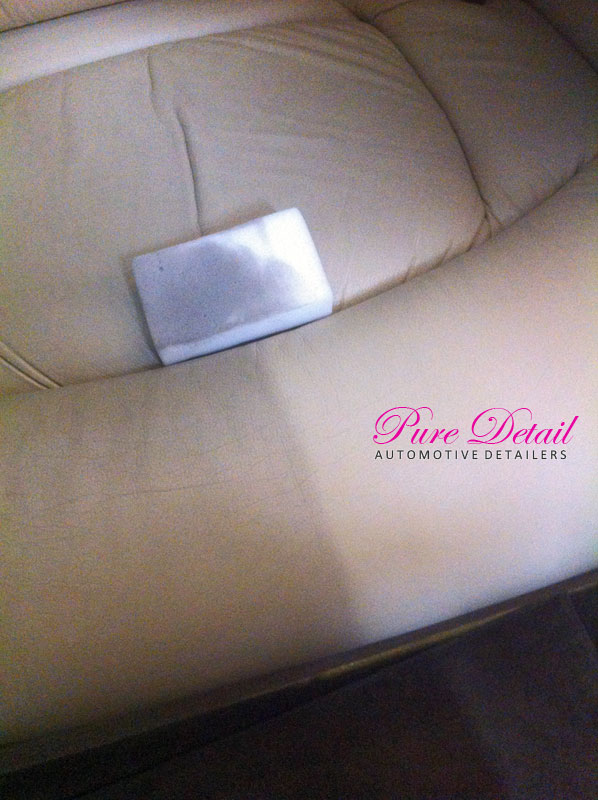
As you can see, a different colour once treated.
Full seat 50/50…
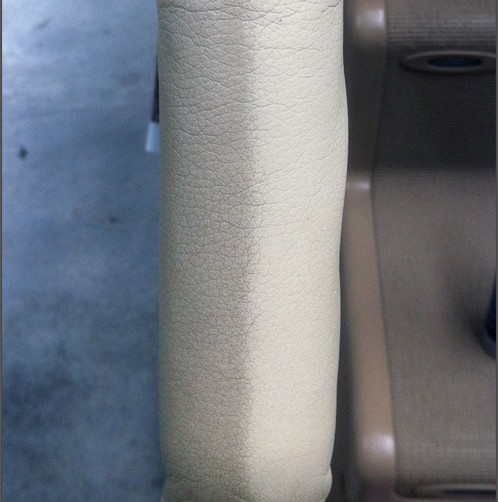
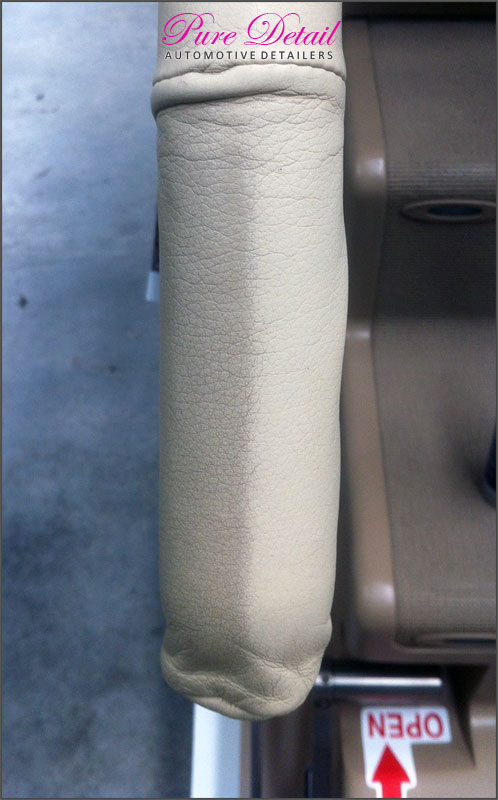
Again with the steps hand rail…
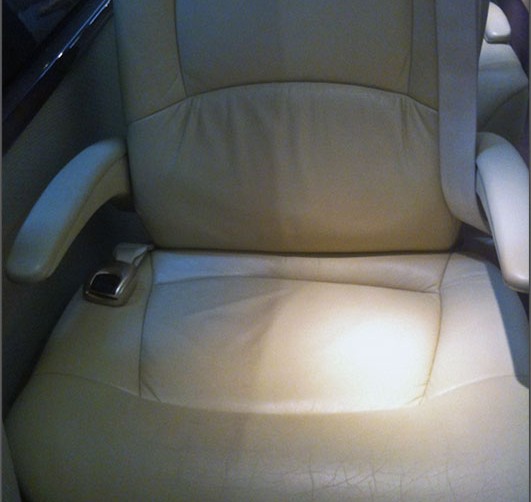
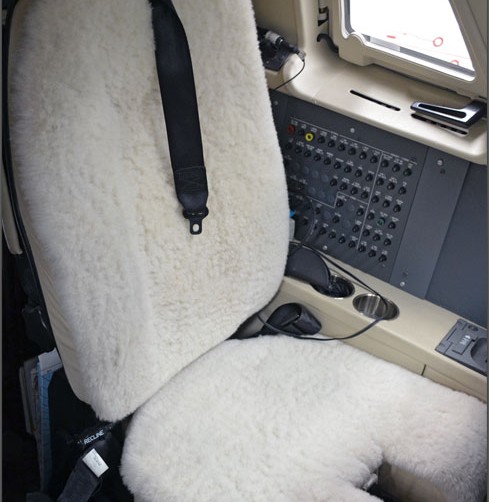
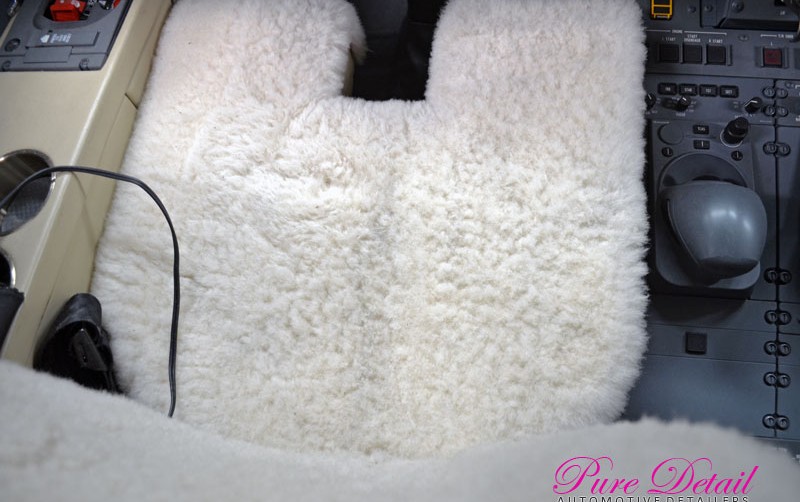
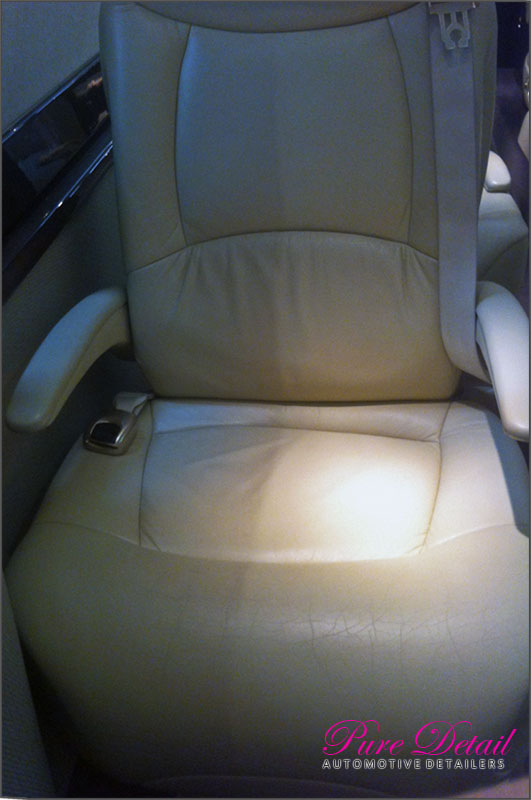
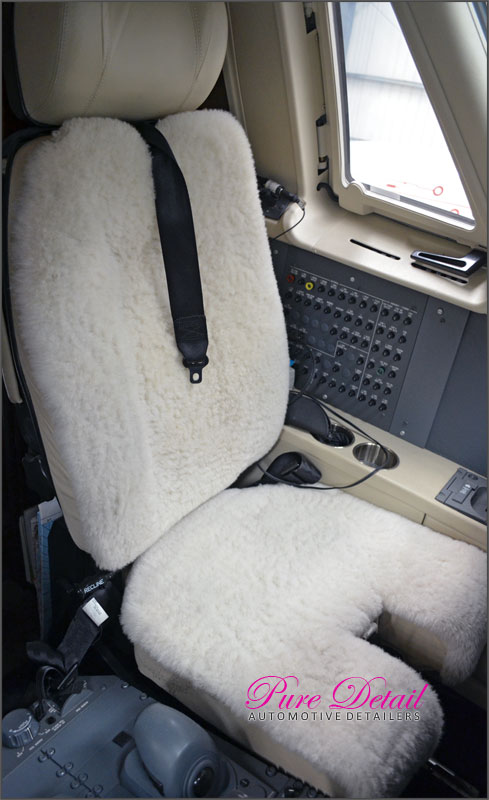
Once all the key issues were complete we carried on with correcting the bright work and deep cleaning the pilot and co-pilot seats.
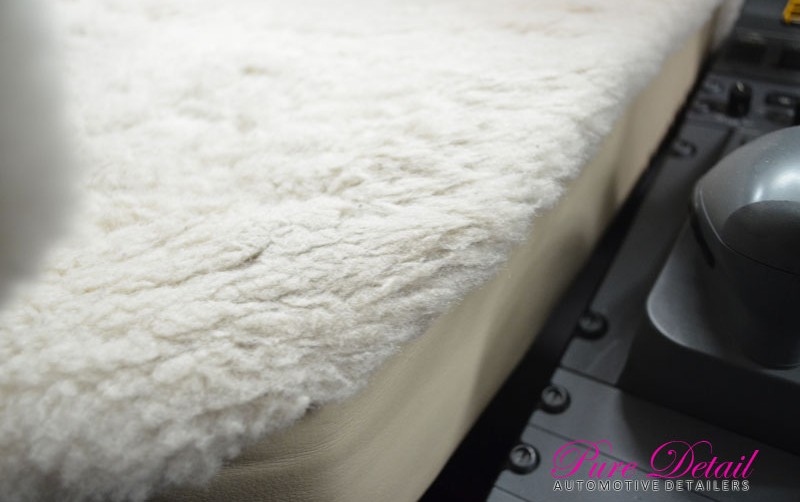
Before…
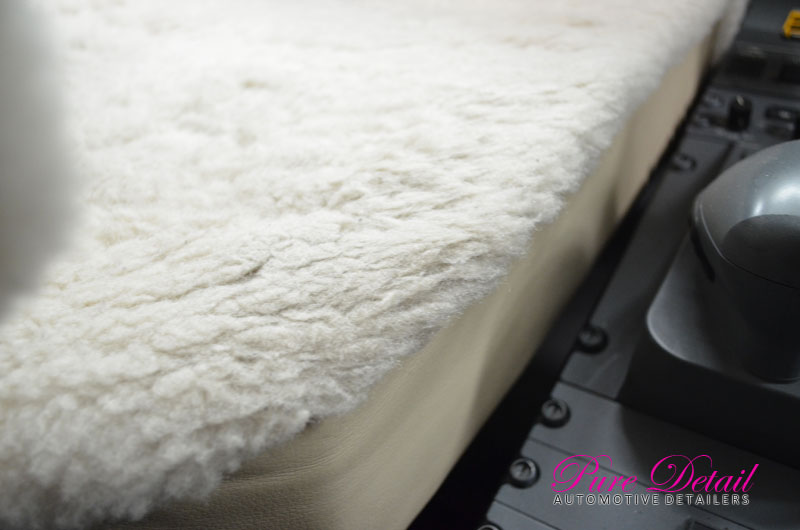
50/50 showing the dry dirt in the wool…
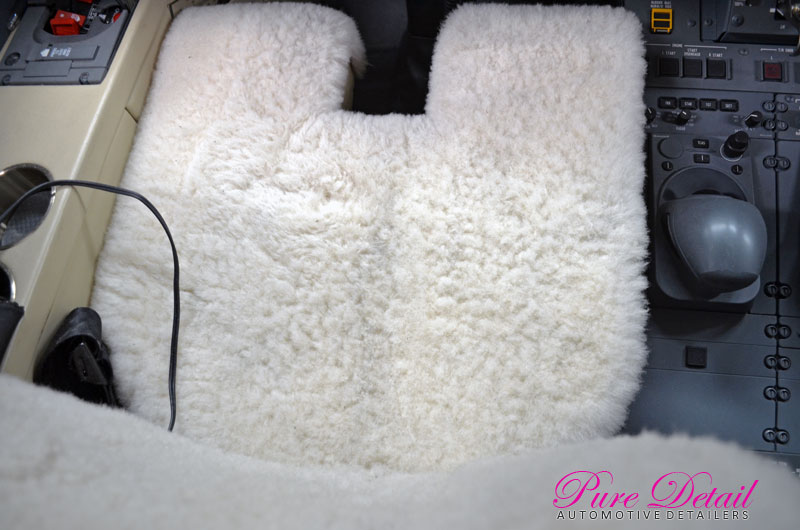
Complete…
Having left the leather to air for hours, we protected all the leather seats and surfaces with Gtechniq L1 to ensure they are protected and keep everything looking fresh.
Complete.
Thanks for reading,
Pure Detail – Aeronautic Detailers.