

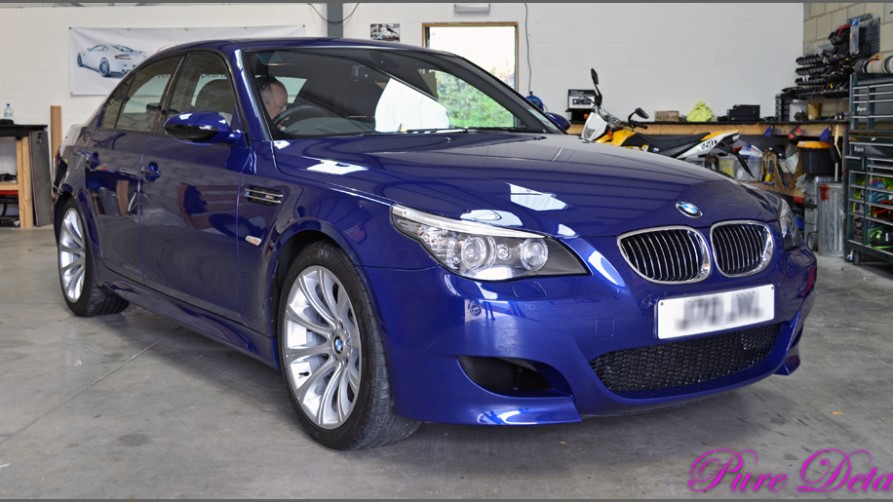

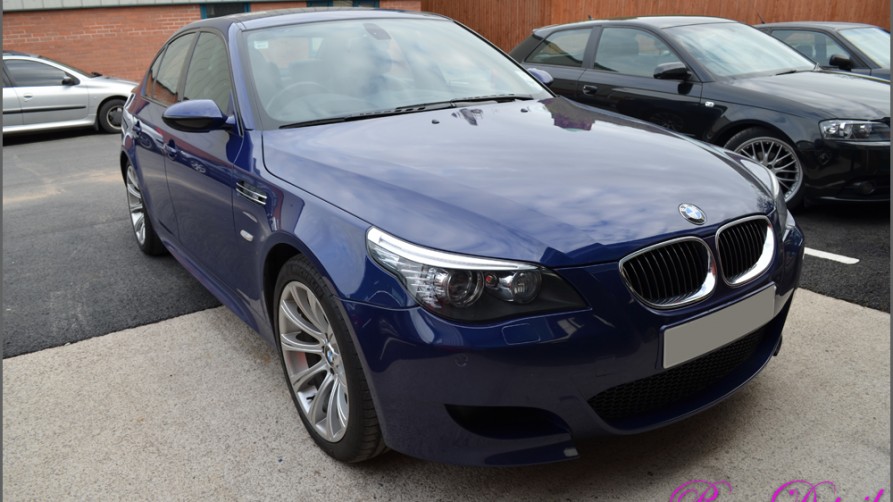

BMW M5 V10 – Full G-Techniq Exterior detail + Warranty.
The M5 had just been purchased from a main dealer under the approved used cars scheme 2 months prior to the detail. With this, the cars under go a 120+ check list so they are in order for the customer. With profit and loss being very tight at dealerships, the over all condition needed to be improved, as the dealer preparation left a little to be desired as you would expect. The customer had seen our work on a friends TT-RS (G-Techniq exterior detail) and wanted to book in for the same treatment.
Booked in for 5 days of treatment, the car was dropped off at our fully secure unit the Sunday before.
General condition…


![]()


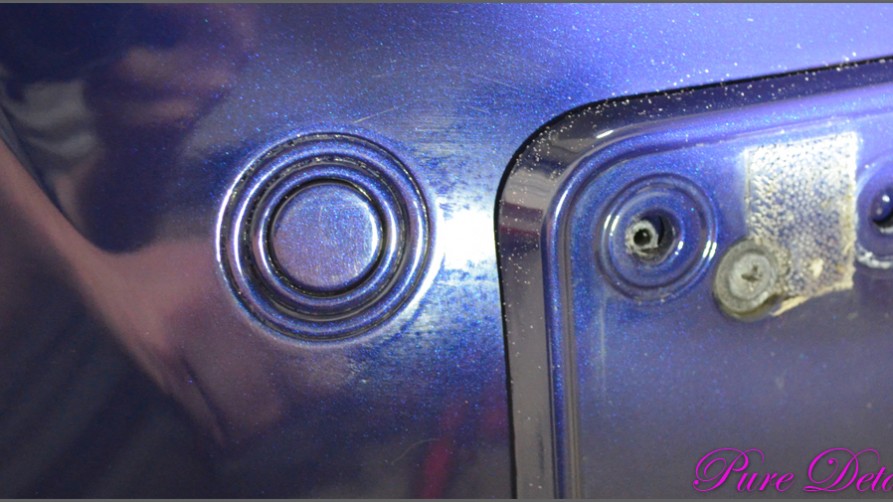
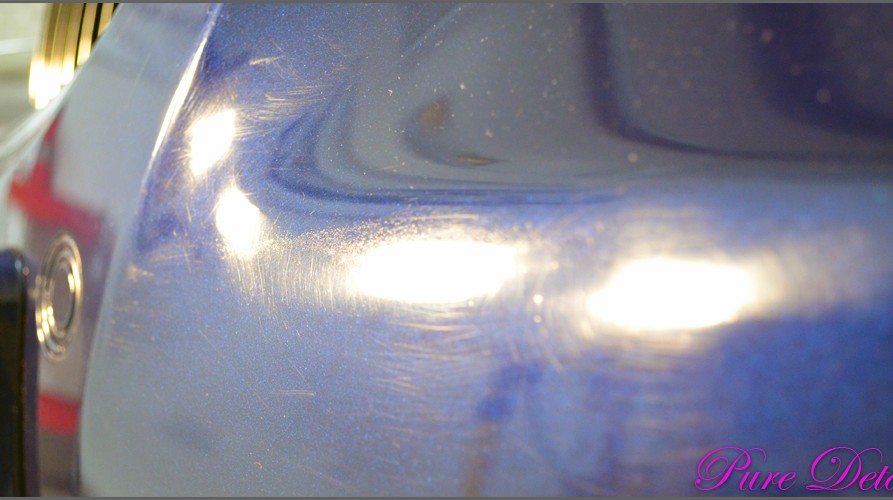
Overall condition was average, slight roughness to the touch from bonded contaminants, fairly tight swirling with several deeper marks and lots of holograms. The sills were very rough to the touch which looked to be over spray.
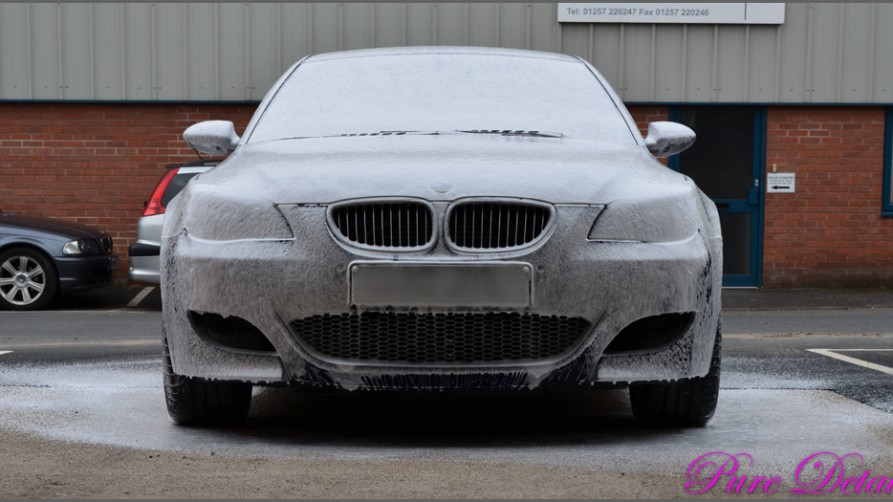
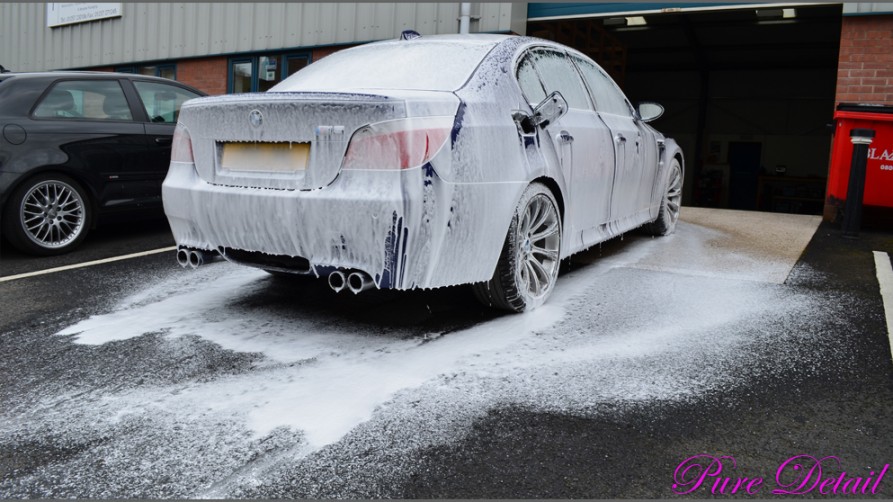
On with the Deep Cleanse stages…


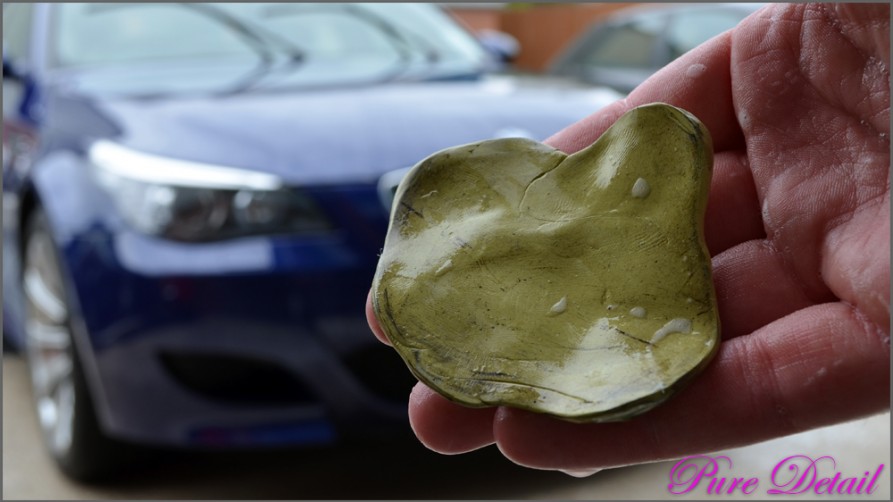
Sprayed with a pre-soak, the car was then foamed, left to drag all the loose contaminates off then rinsed. Again foamed and worked over using our deep pile wash mitts. Rinsed again it was de-tarred and de-ironised ready for removal of bonded contaminates by claying.
Clay after just the bonnet…

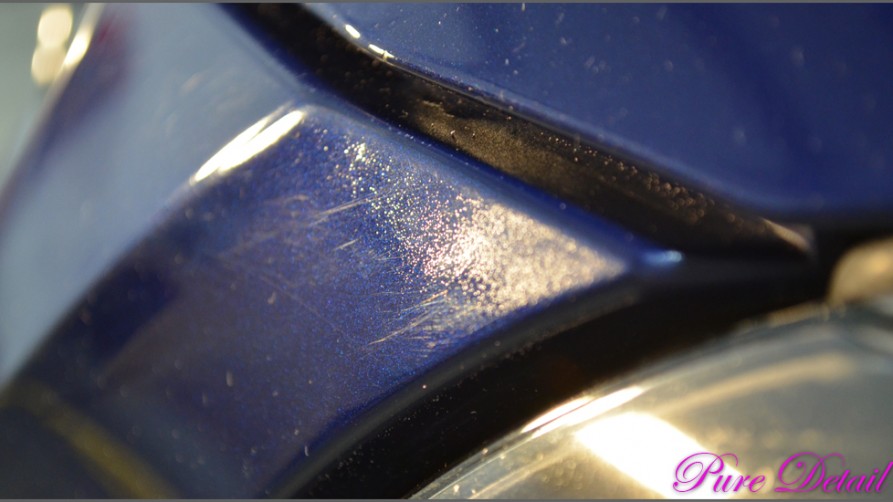
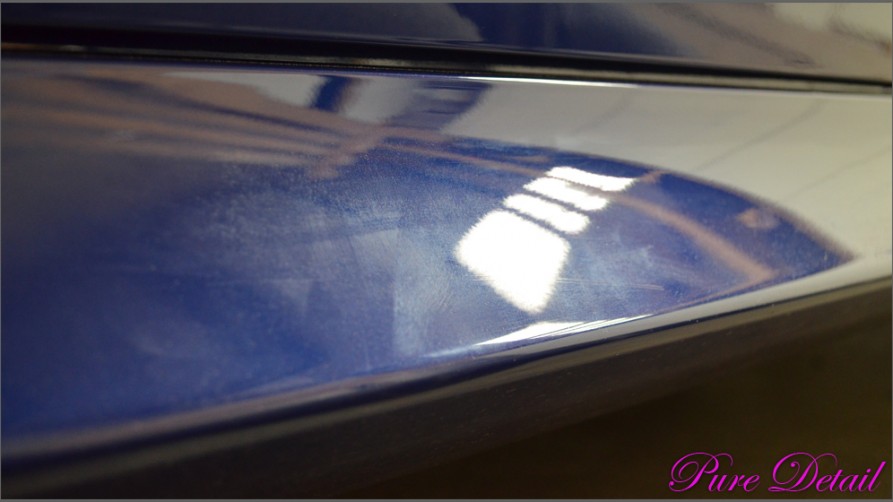
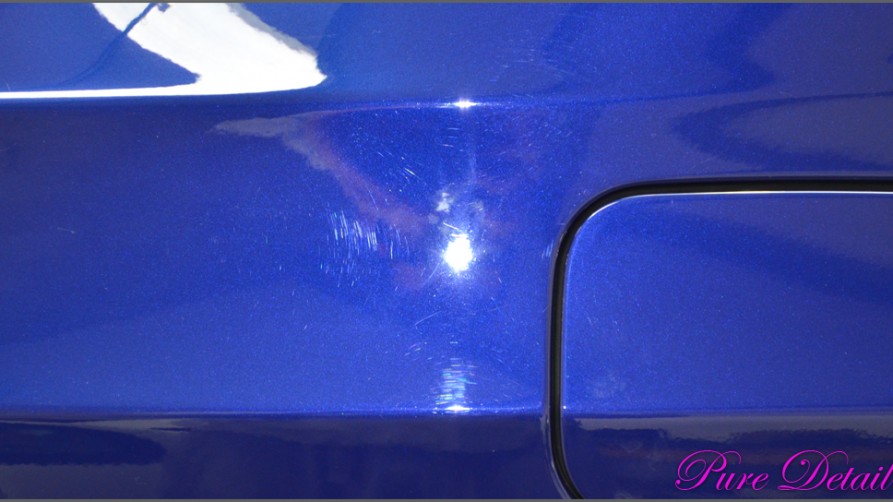
After the clay stages it was washed again to remove the brown dirty residue, brought inside to be dried and preprepared for inspection. As you can see fairly tight swirls with the odd deeper scratch…


Holograms turned out to be heavy buffer trails all over the car, presumably from the preparation by the dealer for the customer.

Swirls..

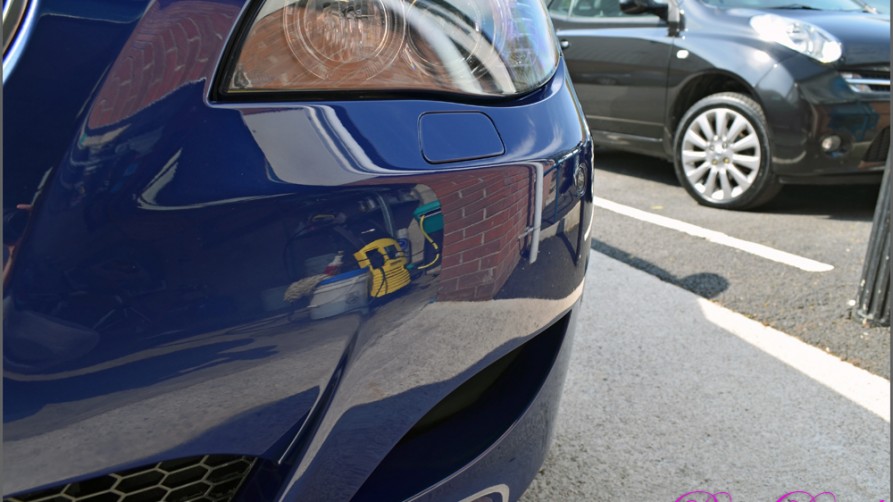
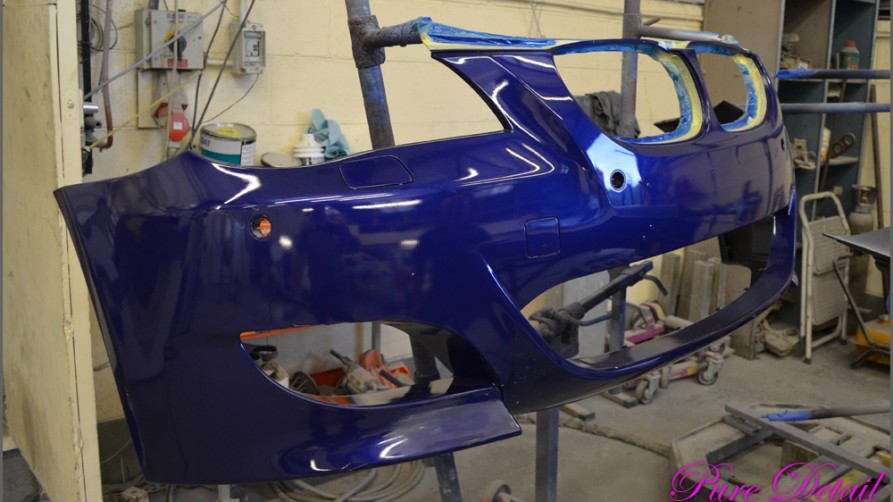
Last on the inspection was the front bumper, which compared to the rest was in a lot worse a condition. A quick phone call to the customer revealed the dealer wanted to spray the front bumper as it had some stone chips and they were not happy. The bumper…
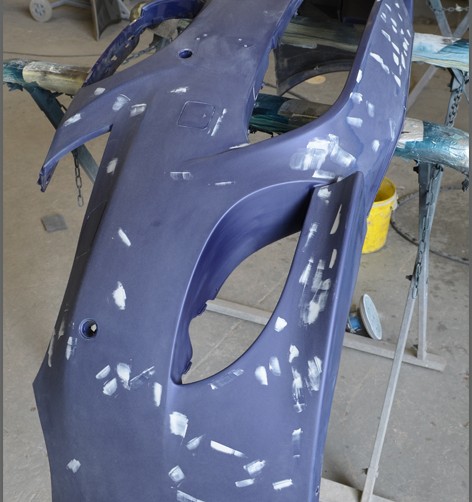
Dry sprayed areas,

one of about four poor blend lines,

Chips not sanded or filled and sprayed over still leaving them visible,

Flatted parts not polished back,

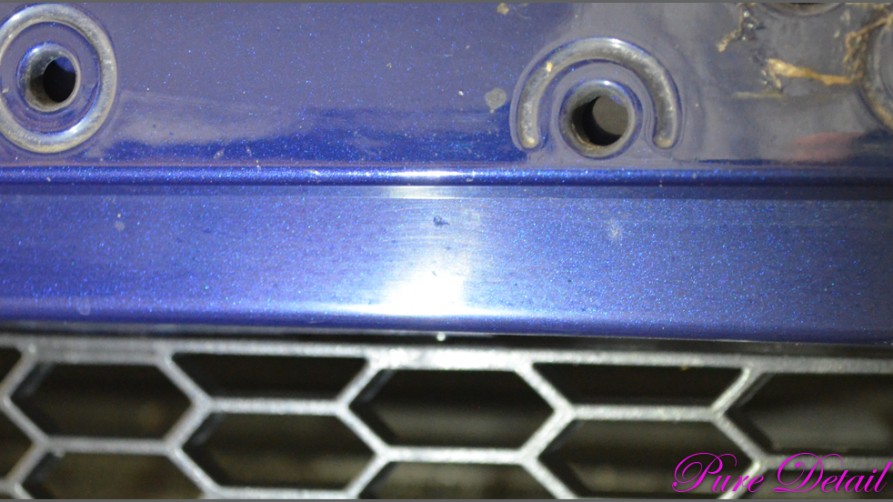
Over spray on the sills as the bumper was sprayed on the car and not correctly covered and taped up.

At the request of the customer, we compiled a report for him to inspect it himself and maybe take up with the dealer. He then asked us to refinish the bumper at our approved bodyshop (Chirs Mercer Body Repairs).
Before we sent the car to the body shop, we decided carry out the rest of the deep cleanse stages and initial paint correction stage due to time constraints.
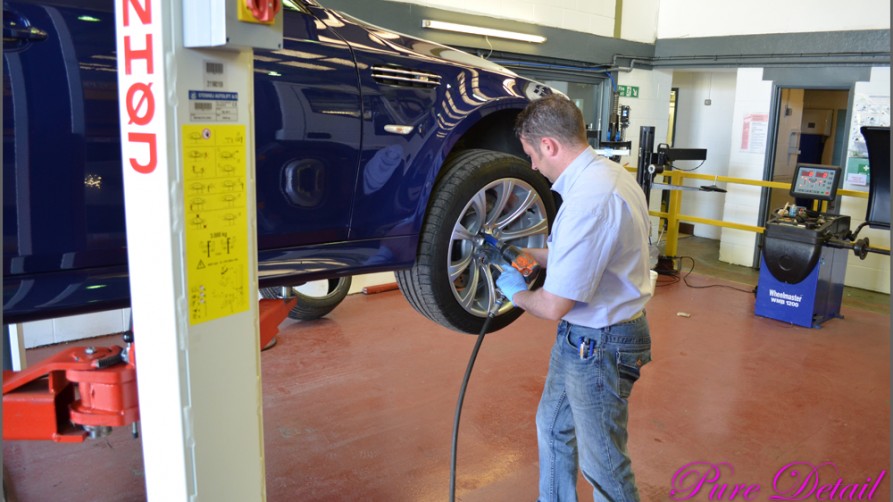
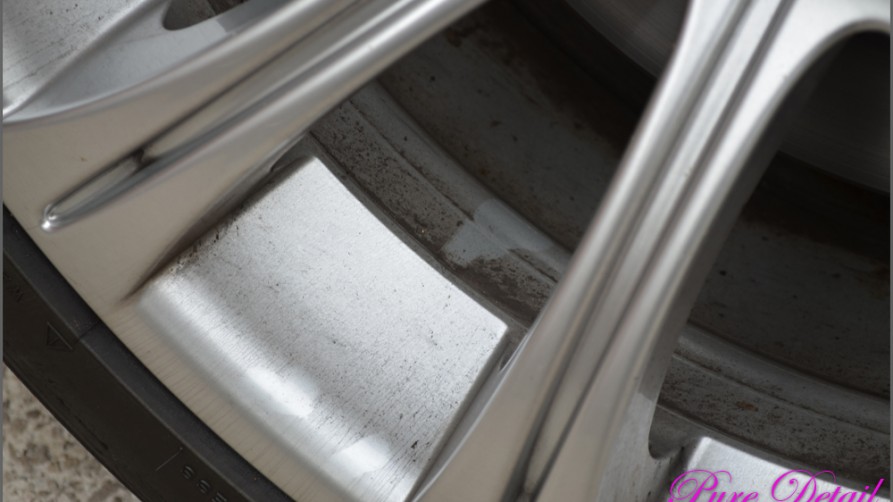
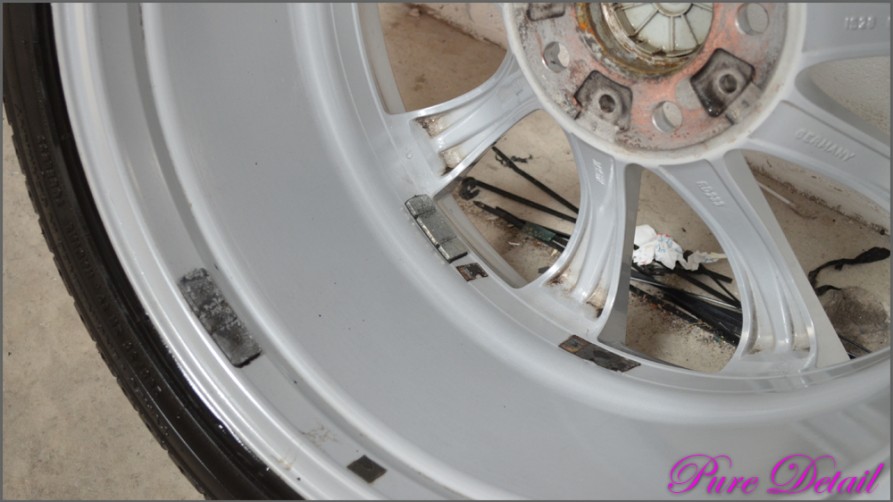
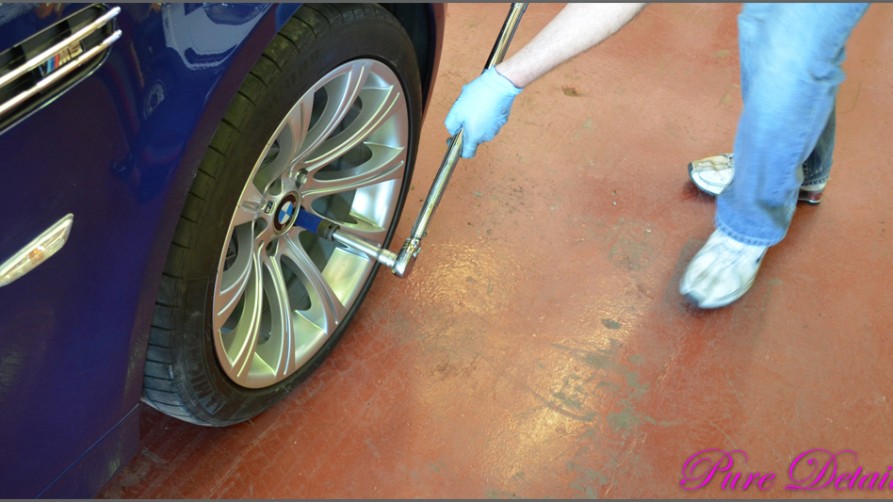
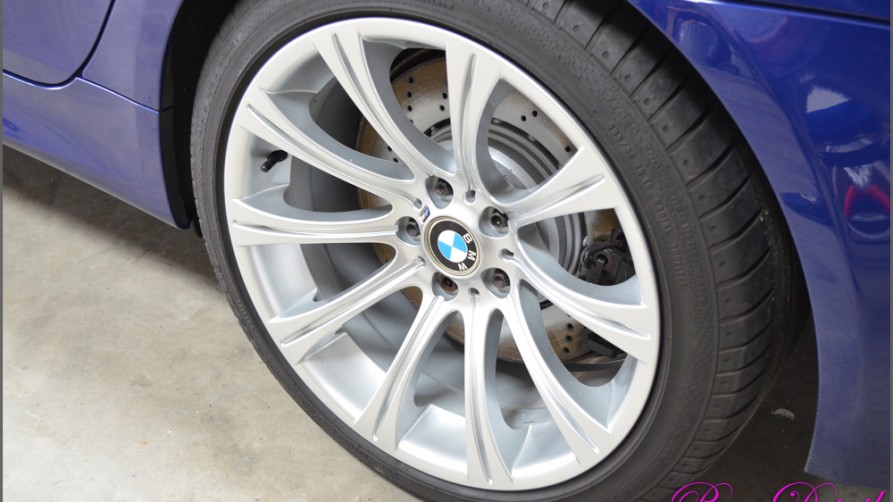
Next we removed the wheels to completely rid any contaminates and coat with G-Techniq C5. Doing so, we found only one of the wheels had any weighting (not part of the 120 check list?). All the wheels had sticker residue from where previous weights had been. So this was removed using various tools.

After…

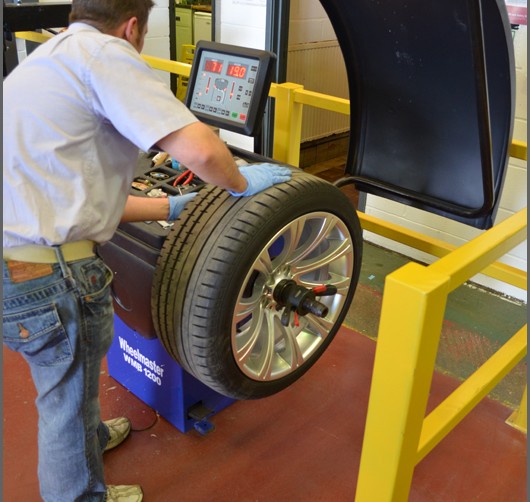
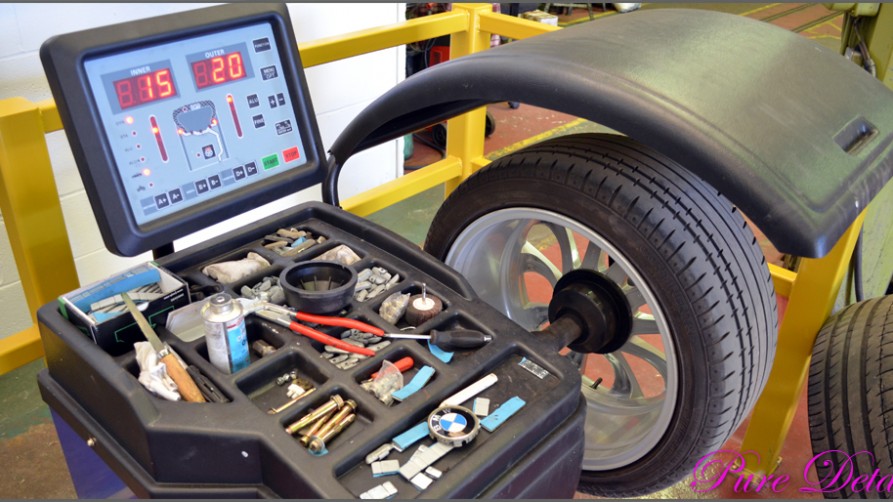
Once all the wheels were completely clean and rid of any sticker residue they were taken down to our approved tyre trader and fitter – CPD Tyres. There really is nothing they don’t know about tyres or fitting, plus they have lovely new machines!
Removed…

On the balancer…

All wheels needed 20-40 weighting.

Attention to detail at CPD Tyres – using zinc coated weights to match the inner wheel paint colour and so they don’t rust as easily. Properly torqued once back on the ground…

We included this services as part of the customers detail.
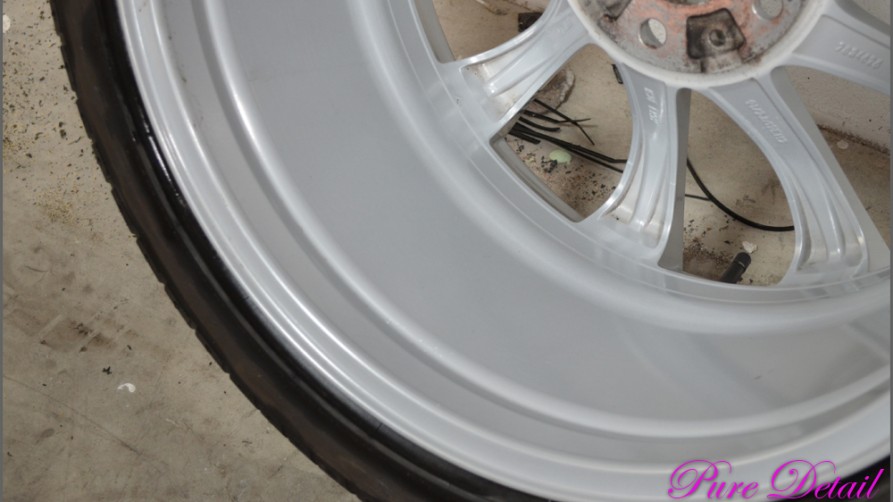
While the wheels were off the car, the hubs looked passed there best so were treated to a refinish.
Looking very fresh… (*Note the over-spray on the disc will disappear when the brake is pressed for the first time, leaving a perfect edge.)

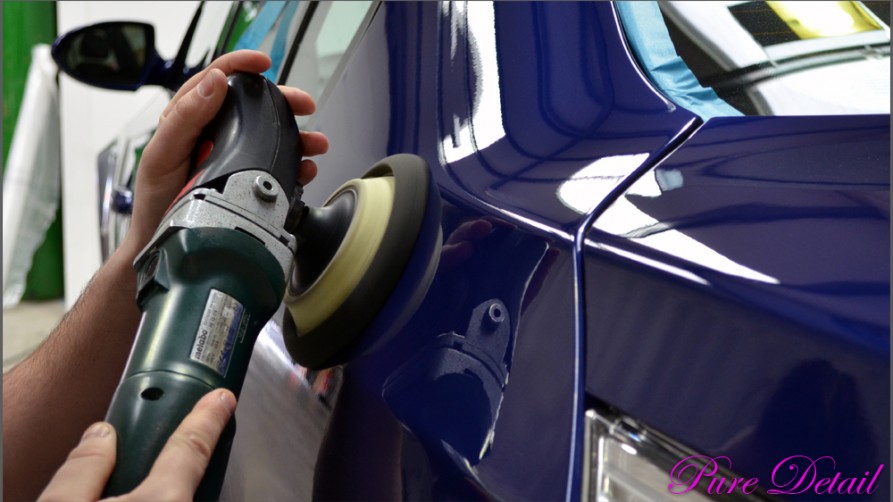
On to the initial correction stage. Having tested different pad and polish combinations we found scholl s17 to work best with a medium to heavy cut pad. This removed all swirls and most of the deeper scratches, some however were too deep and had to be left. Slight buffing trails were left from this coarse stage, ready for refining.


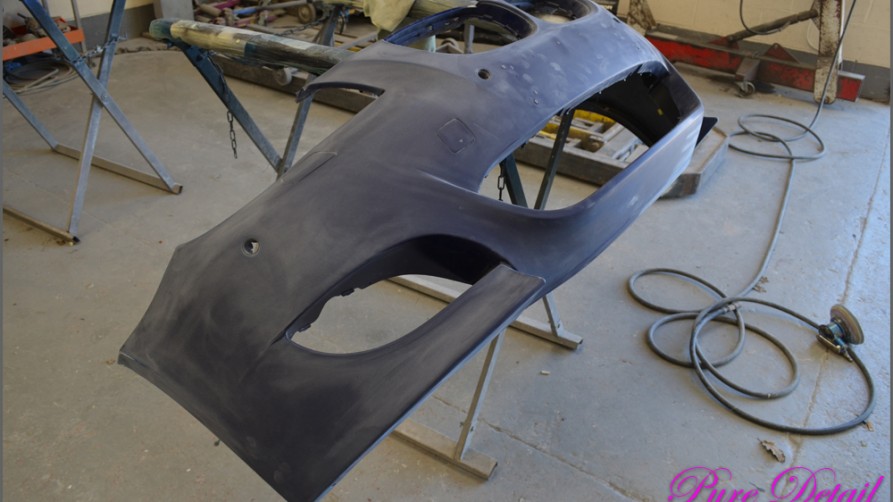
Correction/de-swirl stage complete the car was then shipped off to the body shop for the front bumper to be re-finished. A few photo’s showing the stages…
Sanded back to original paint revealing 4-5 different blends…

Deeper chips then filled…

Colour and first coat of lacquer with any contaminates sanded out…

Once happy, 3 more coated of lacquer were then sprayed. The bumper was then baked, flatted and polished.
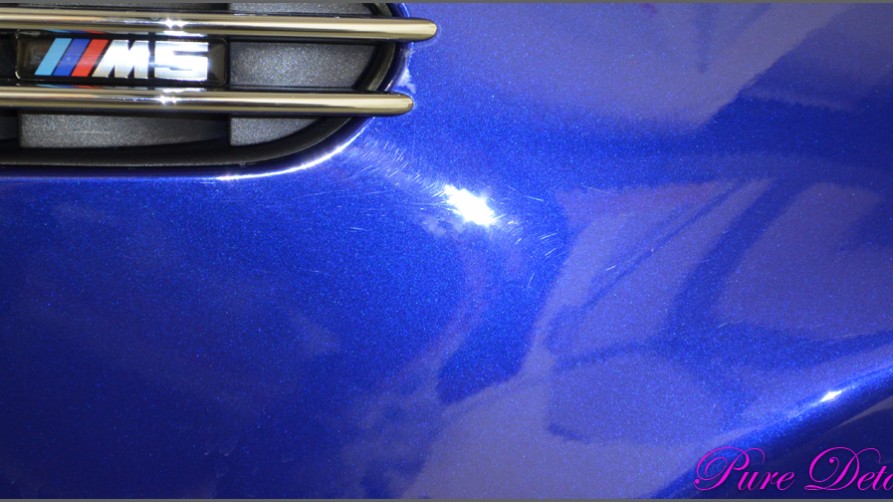
Results..


Happy with the refinishing the car was soaked and washed to remove dust that had accumulated whilst sat at the bodyshop.

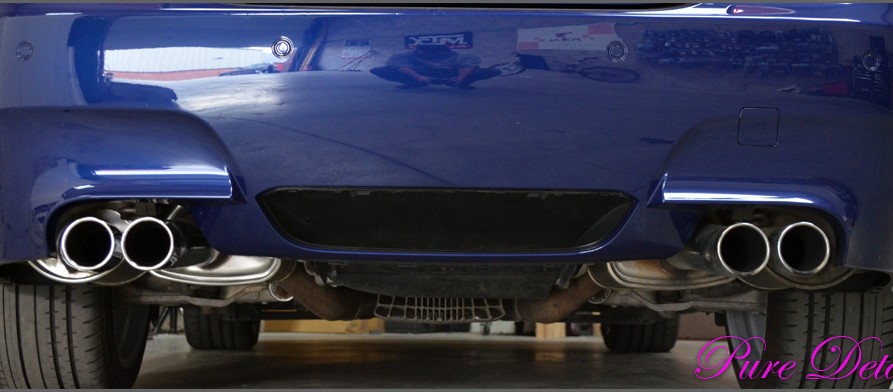
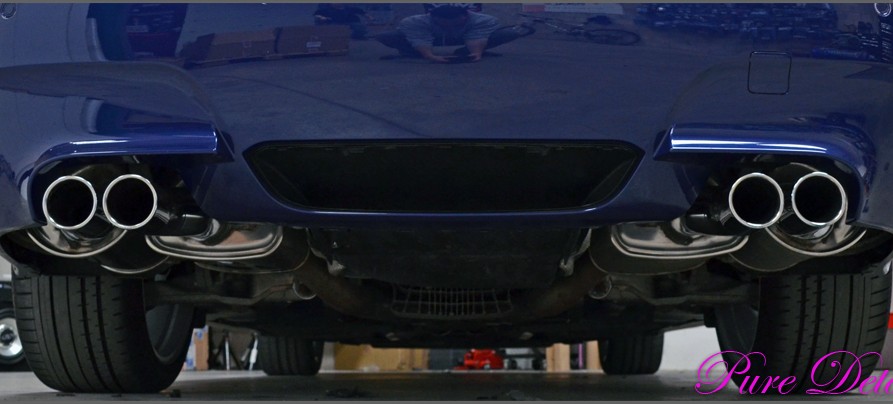
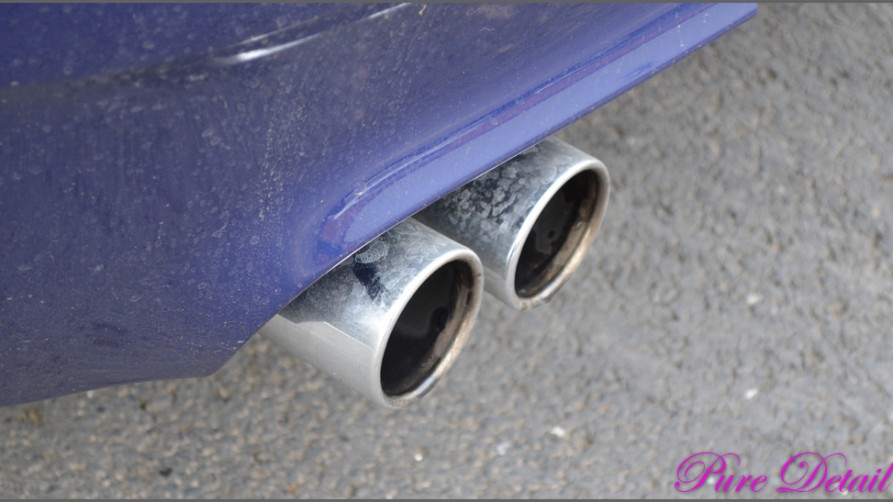
Once washed, it was brought in ready to be finished. First we cleaned and polished the exhausts pipes and back boxes as they are visible from the rear.

All dirt and tar removed and heat markings removed…
Complete…

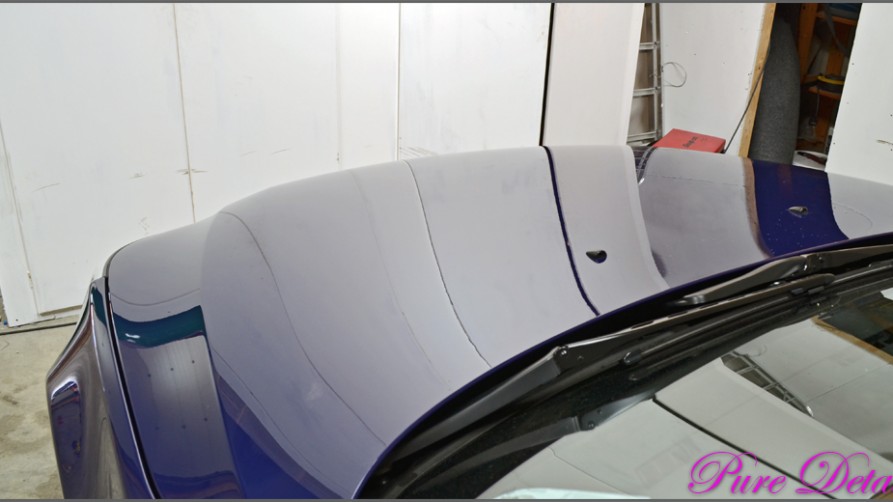
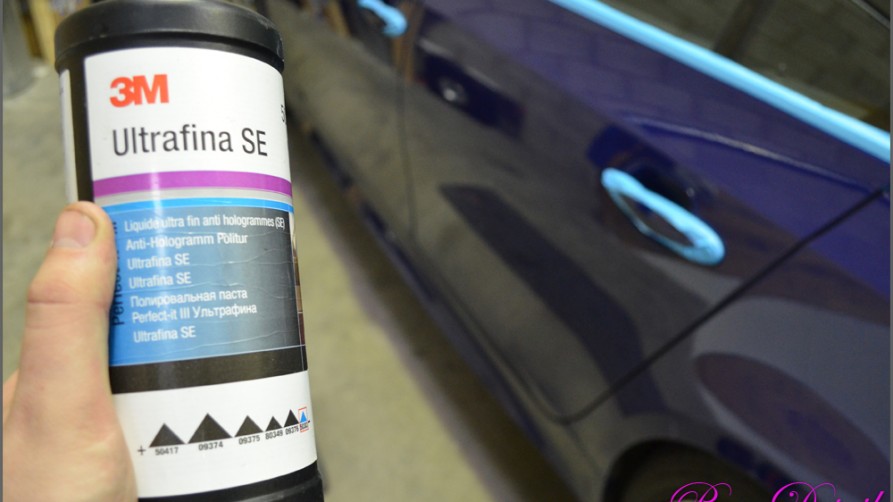
Onto refining and finishing the paintwork…
For this we found 3m Ultrafina to finish and leave the most clear results using their black glazing pad.


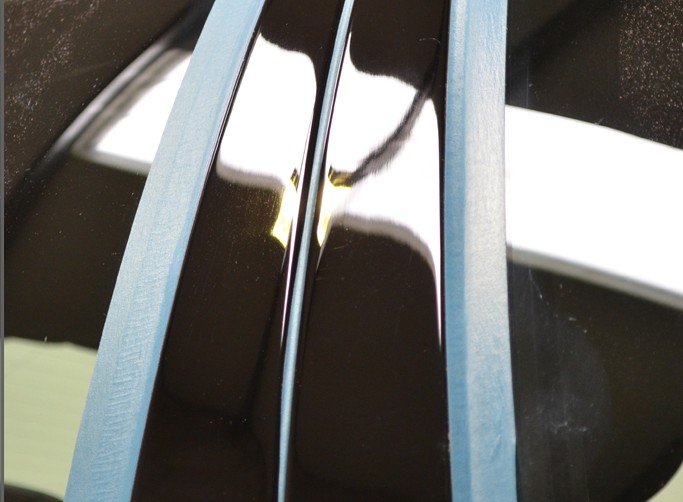
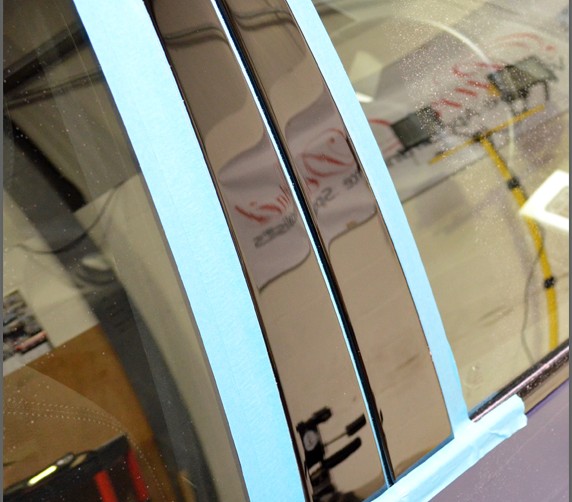
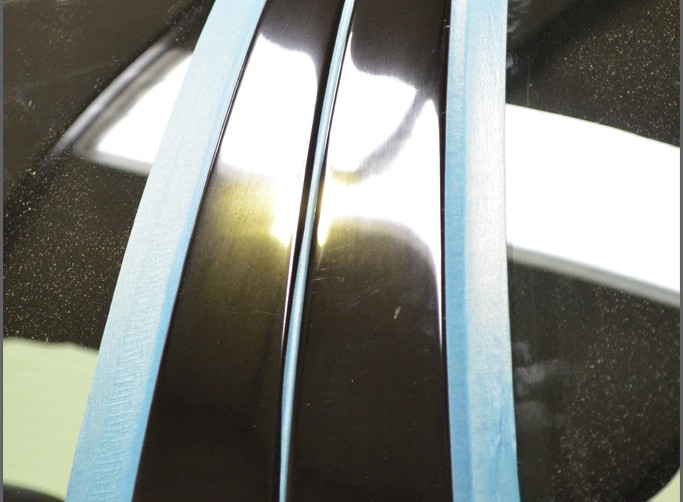
B pillars were very hazy and swirled…

after machine stage…


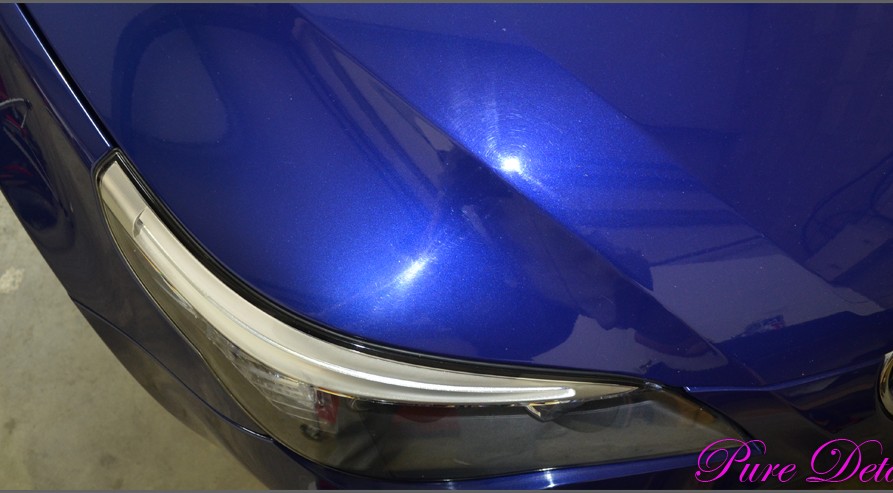
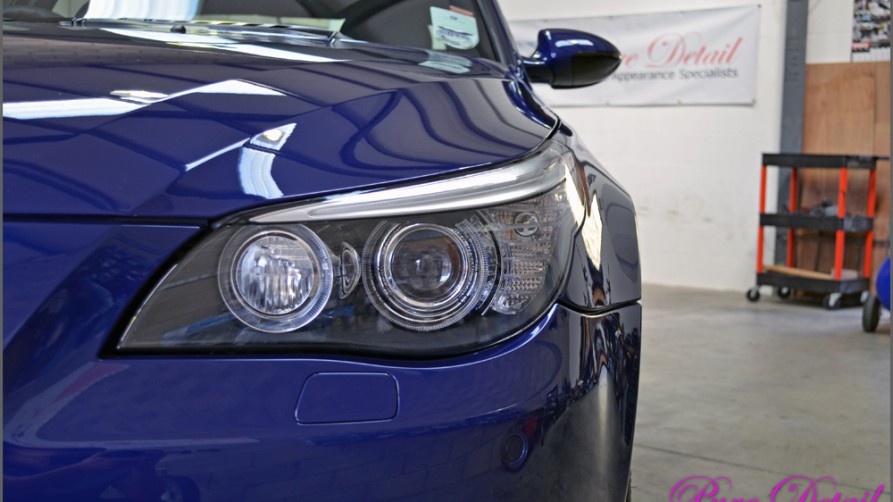
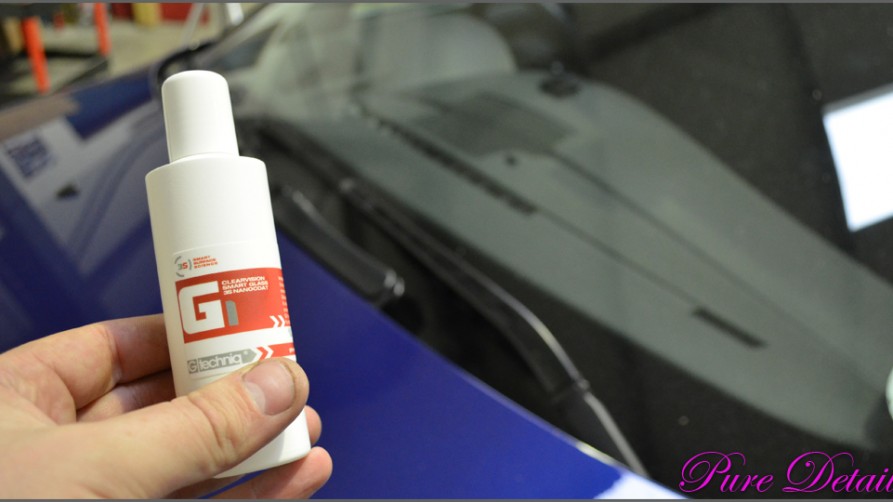
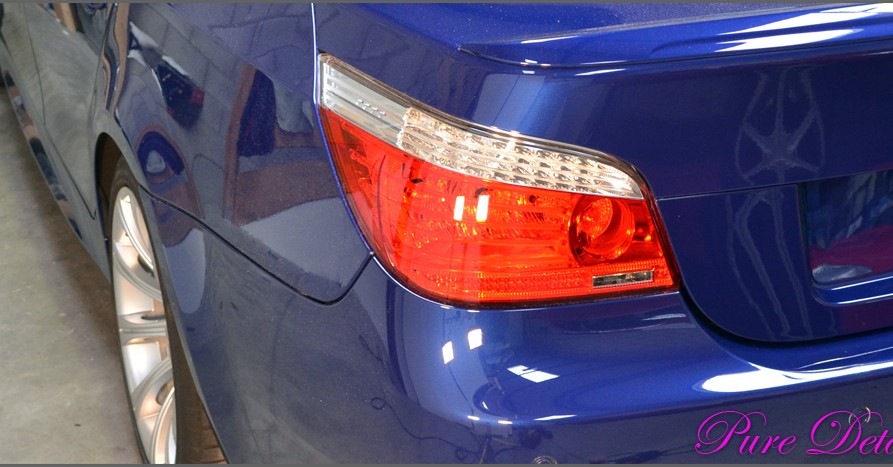
Front and rear light lenses were corrected and coated with G-Techniq G1.

Windows were IPA’d and then G-Techniq G1 applied twice and three times on the windscreen…

G-Techniq C4 was applied to the plastics and rubbers. Coating the hard to reach areas first like the recessed rear window seals using cotton buds.

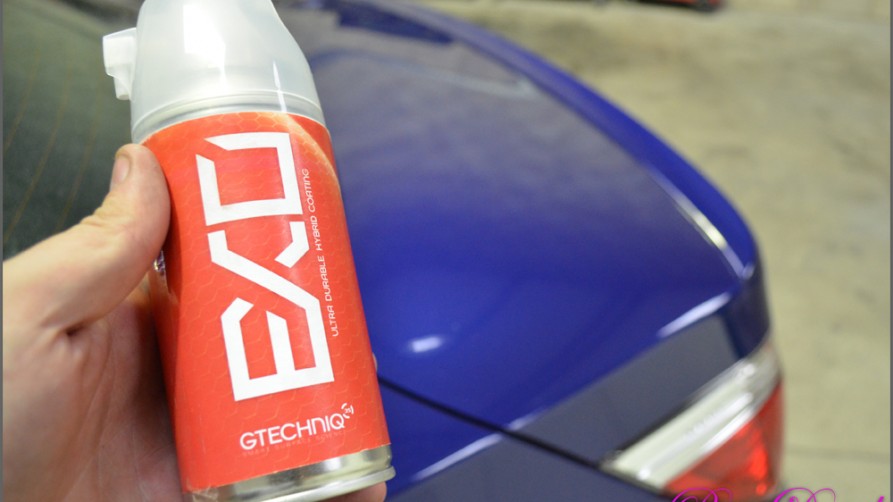
The paintwork was then IPA’d down to remove any polish residue and dust in preparation for G-Techniq EXO!!

Exo is a very delicate coating product, which needs perfect conditions to be applied and then left for 48 hours to cure.
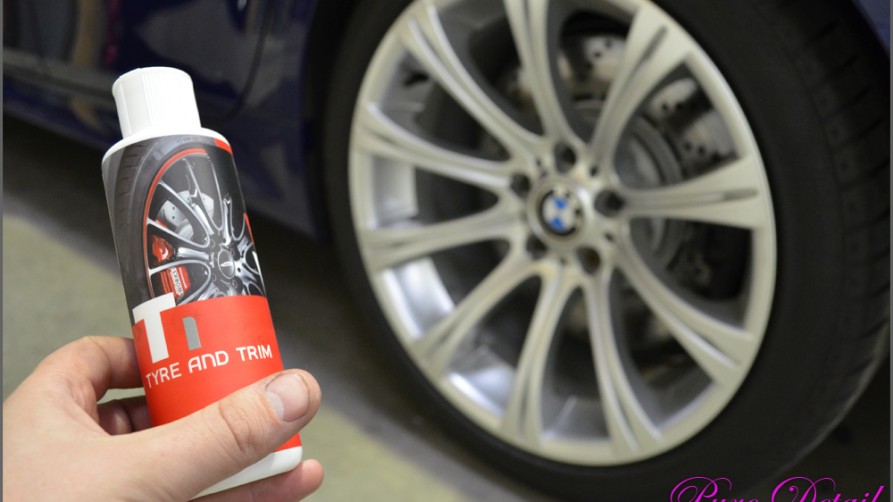
G-Techniq T1 was applied to the tyres…

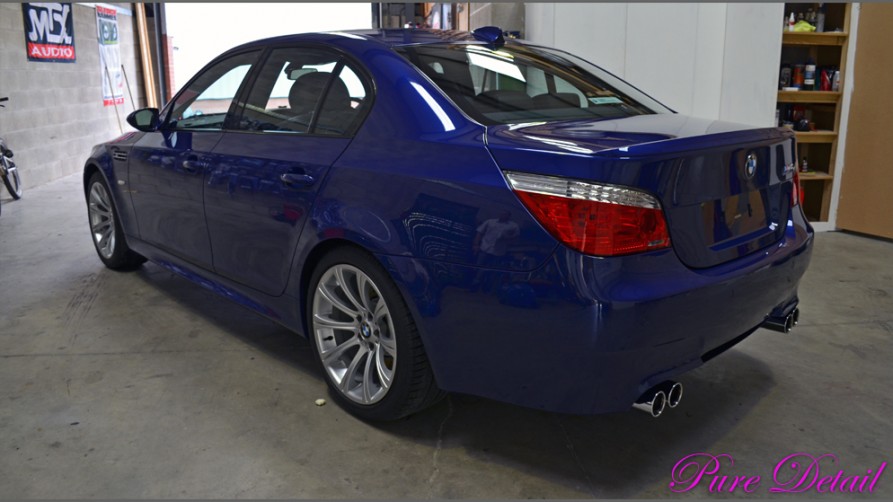
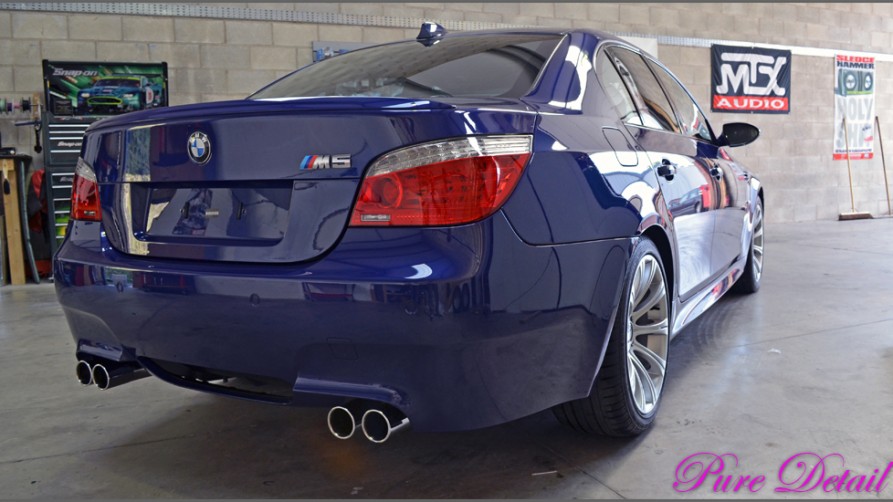
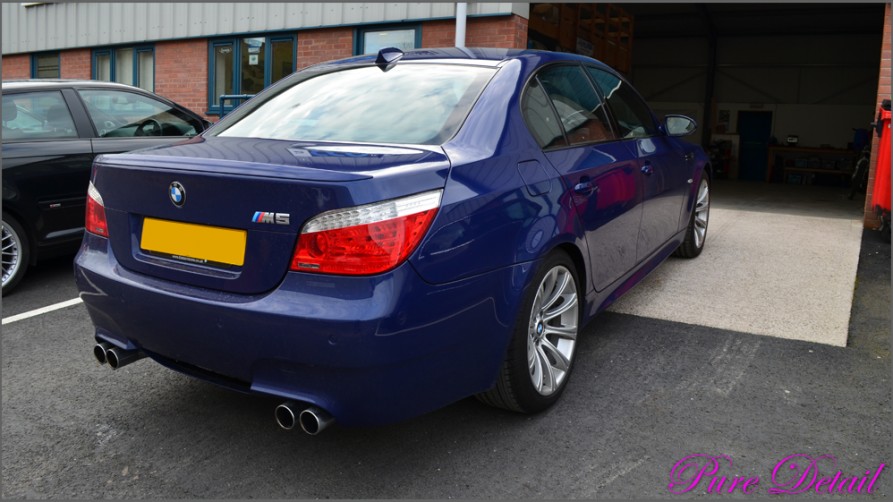
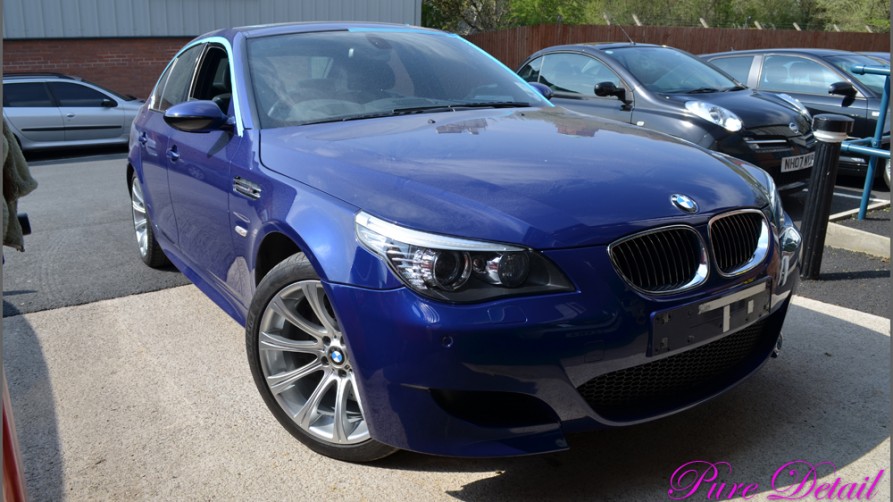
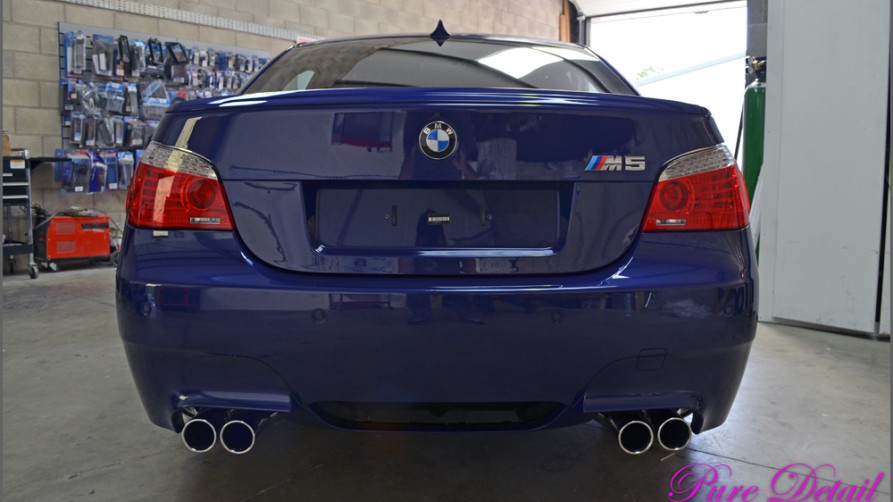
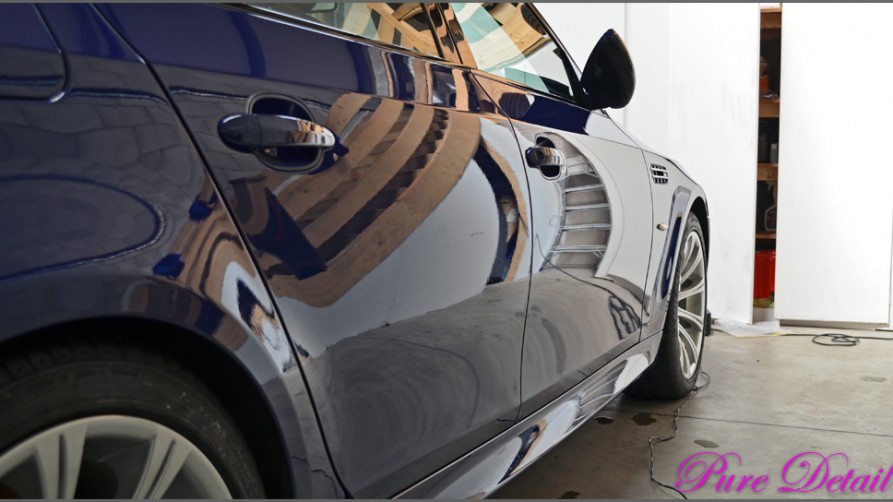
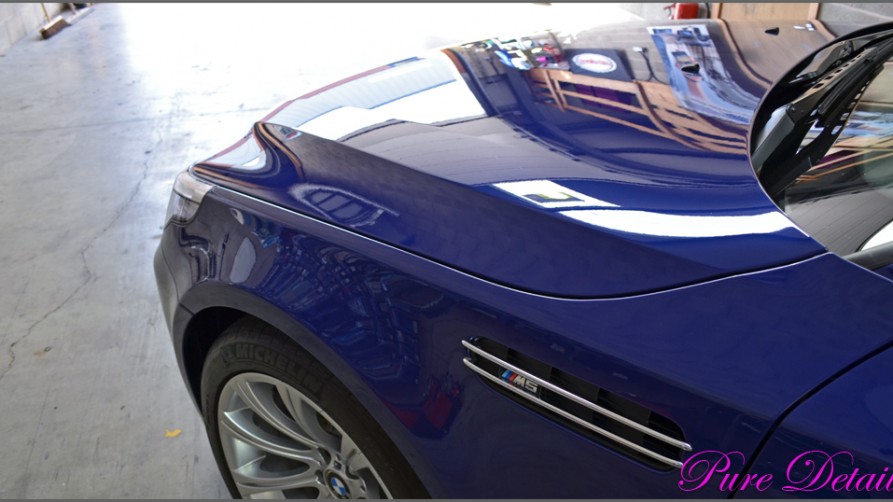
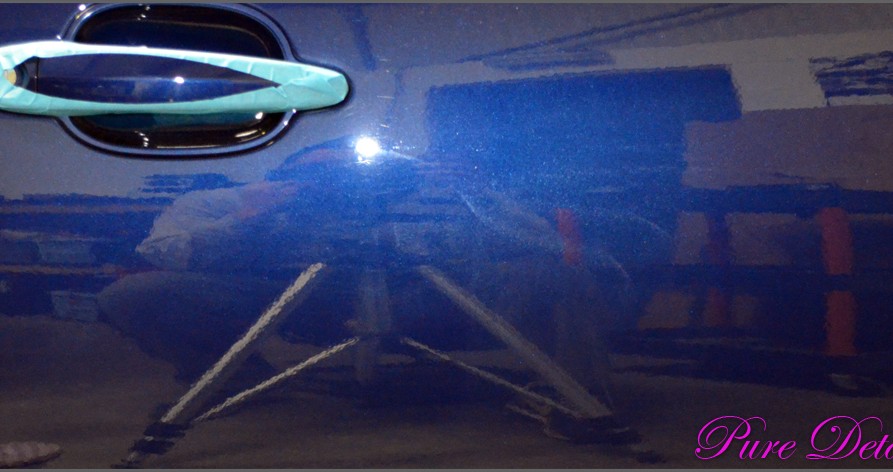
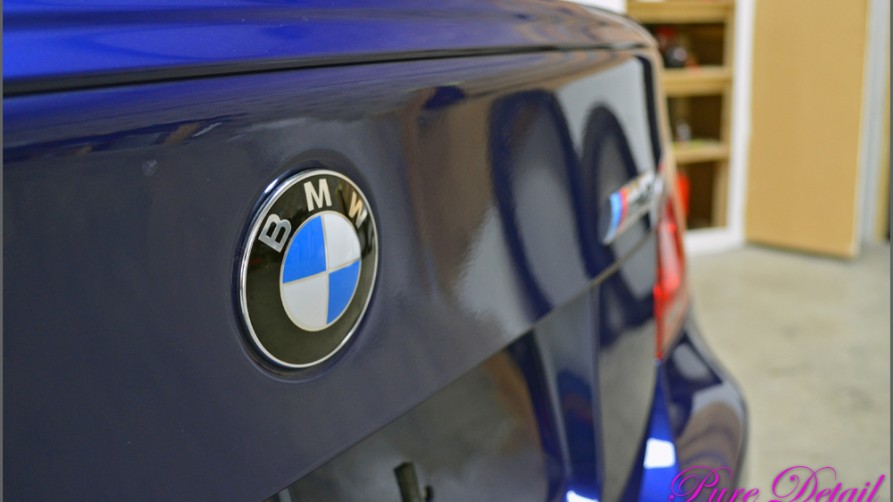
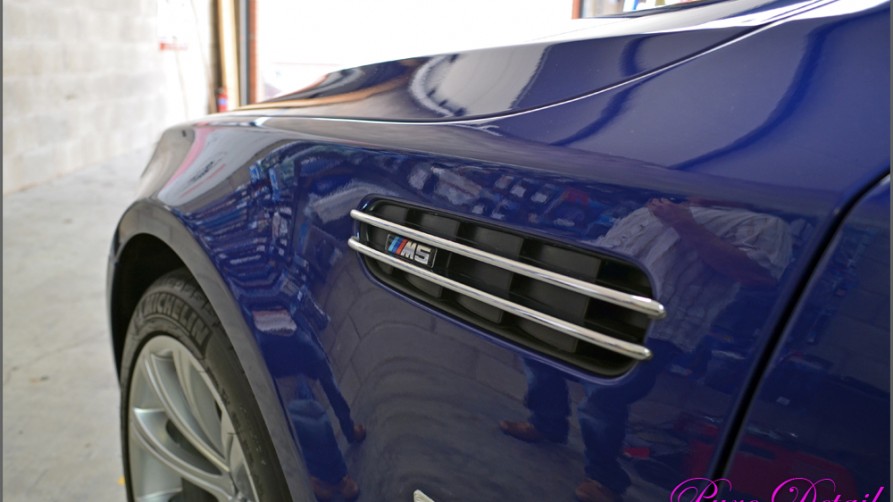
The Results…


Time taken with added body shop time – 8 days.
Carries G-Techniq 3 year warranty.
Thanks for reading,
Pure Detail – Authorised G-Techniq Detailers.